Clay Pot Sourdough Bread Recipe
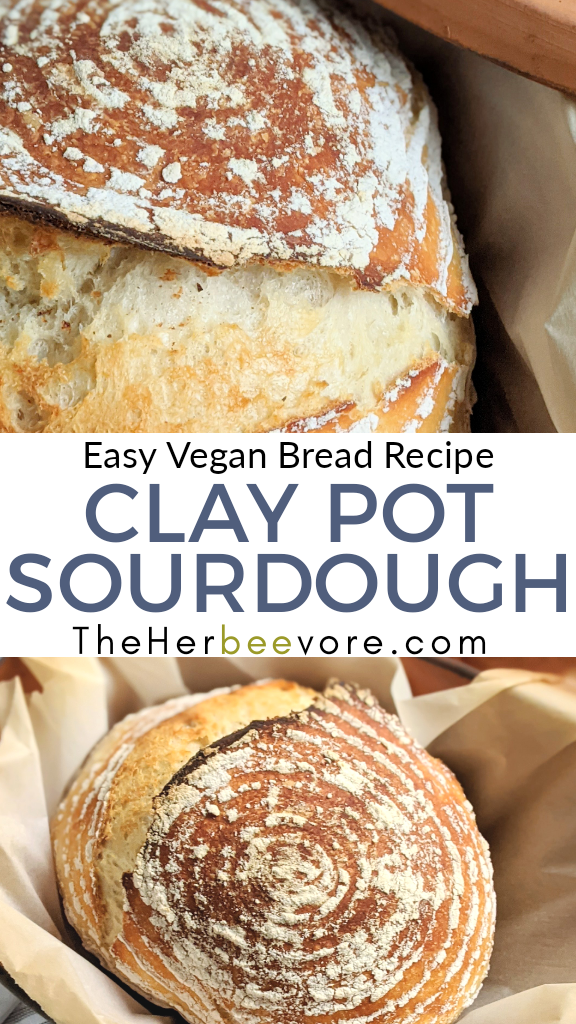
This simple clay pot sourdough bread recipe is fun and easy to make at home from your sourdough starter! Warm, crusty, and great for breakfast or brunch – only 5 ingredients!
This delicious crusty bread is cooked in a clay baking pot, or any oven-safe pot that has a lid. Enjoy this bread toasted up for breakfast, sliced for sandwiches, or to enjoy with a hot bowl of soup.
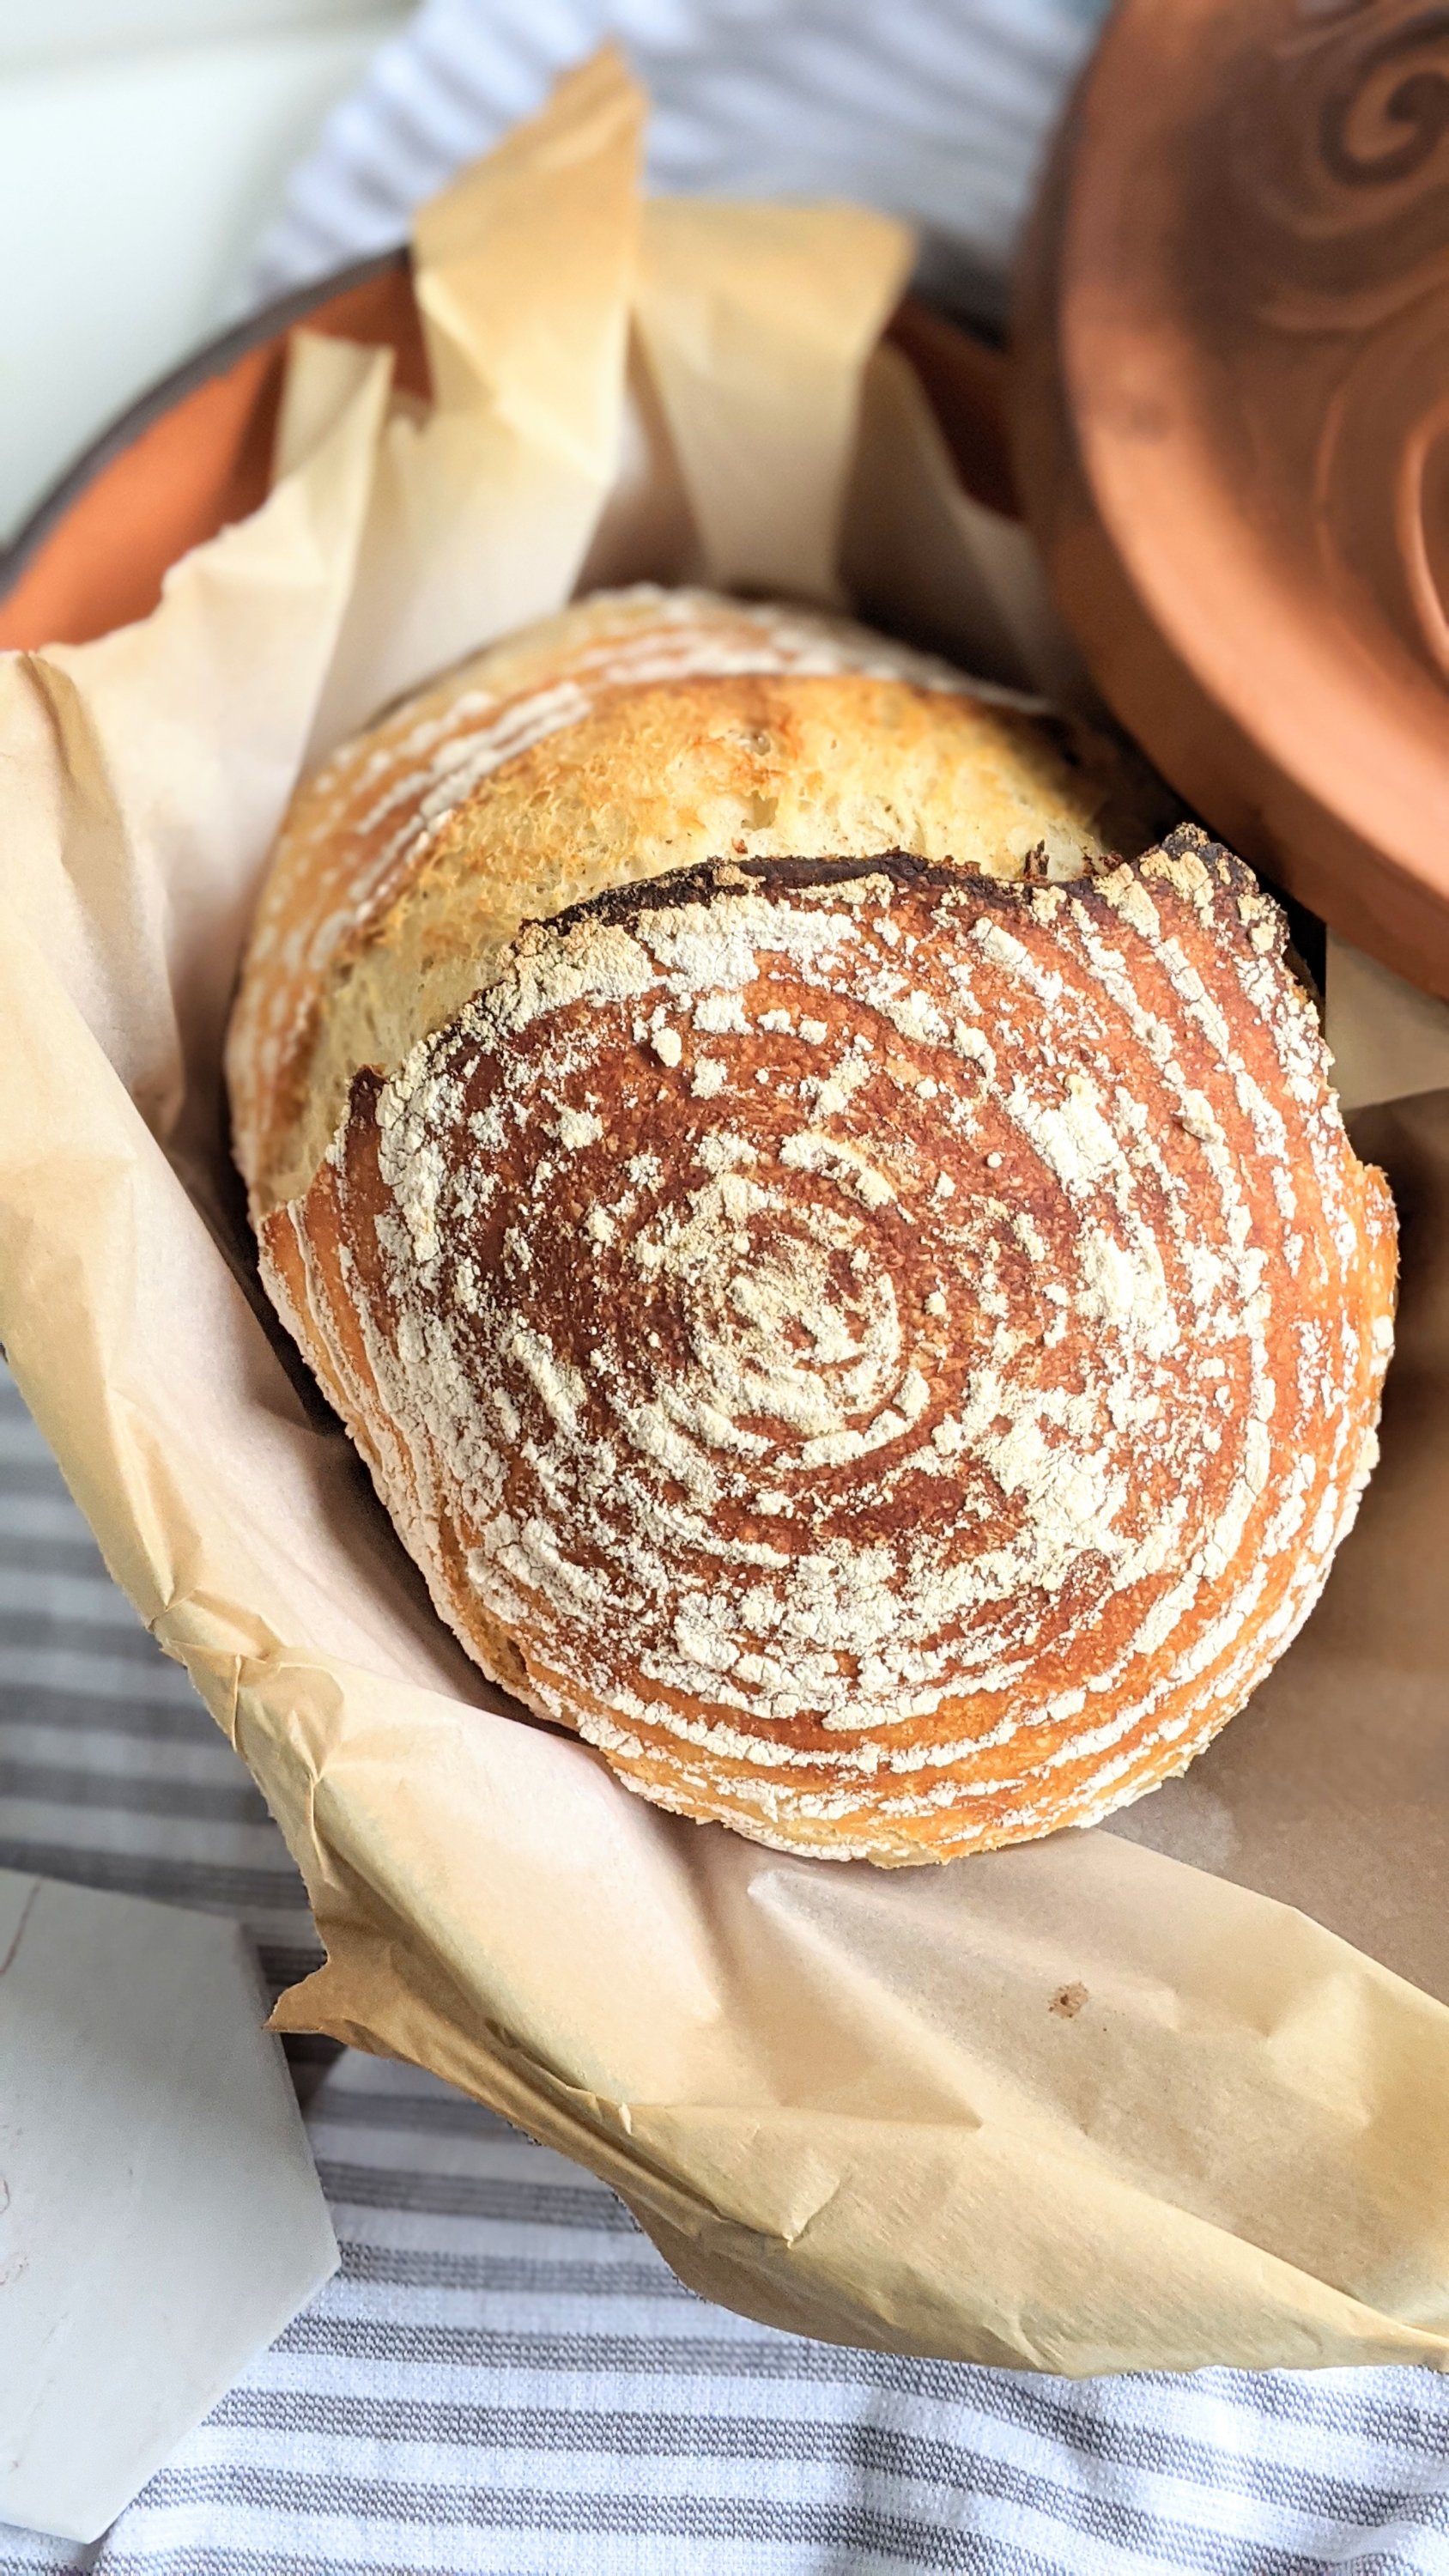
It’s no secret, I love baking bread and trying new ways to make it! I recently tried my Cast Iron Skillet Olive Oil Bread (YUM!) and my go-to of 4 Ingredient Dutch Oven No Knead Bread is a weekend staple. I wanted to try out how our clay pot did with bread – and as you can see, it works wonders!
We love cooking with our Romertopf clay pot, and I’m officially adding bread to our clay pot recipe repertoire! I also love making our Romertopf Clay Pot Chicken & Vegetables recipe which is favorite all year round. Make no mistake, clay pots are also fantastic for breads.
This Clay Pot Sourdough Recipe Is
- Crusty on the Outside
- Soft in the Middle
- Aromatic
- Easy to Make
- Vegan
- Dairy Free
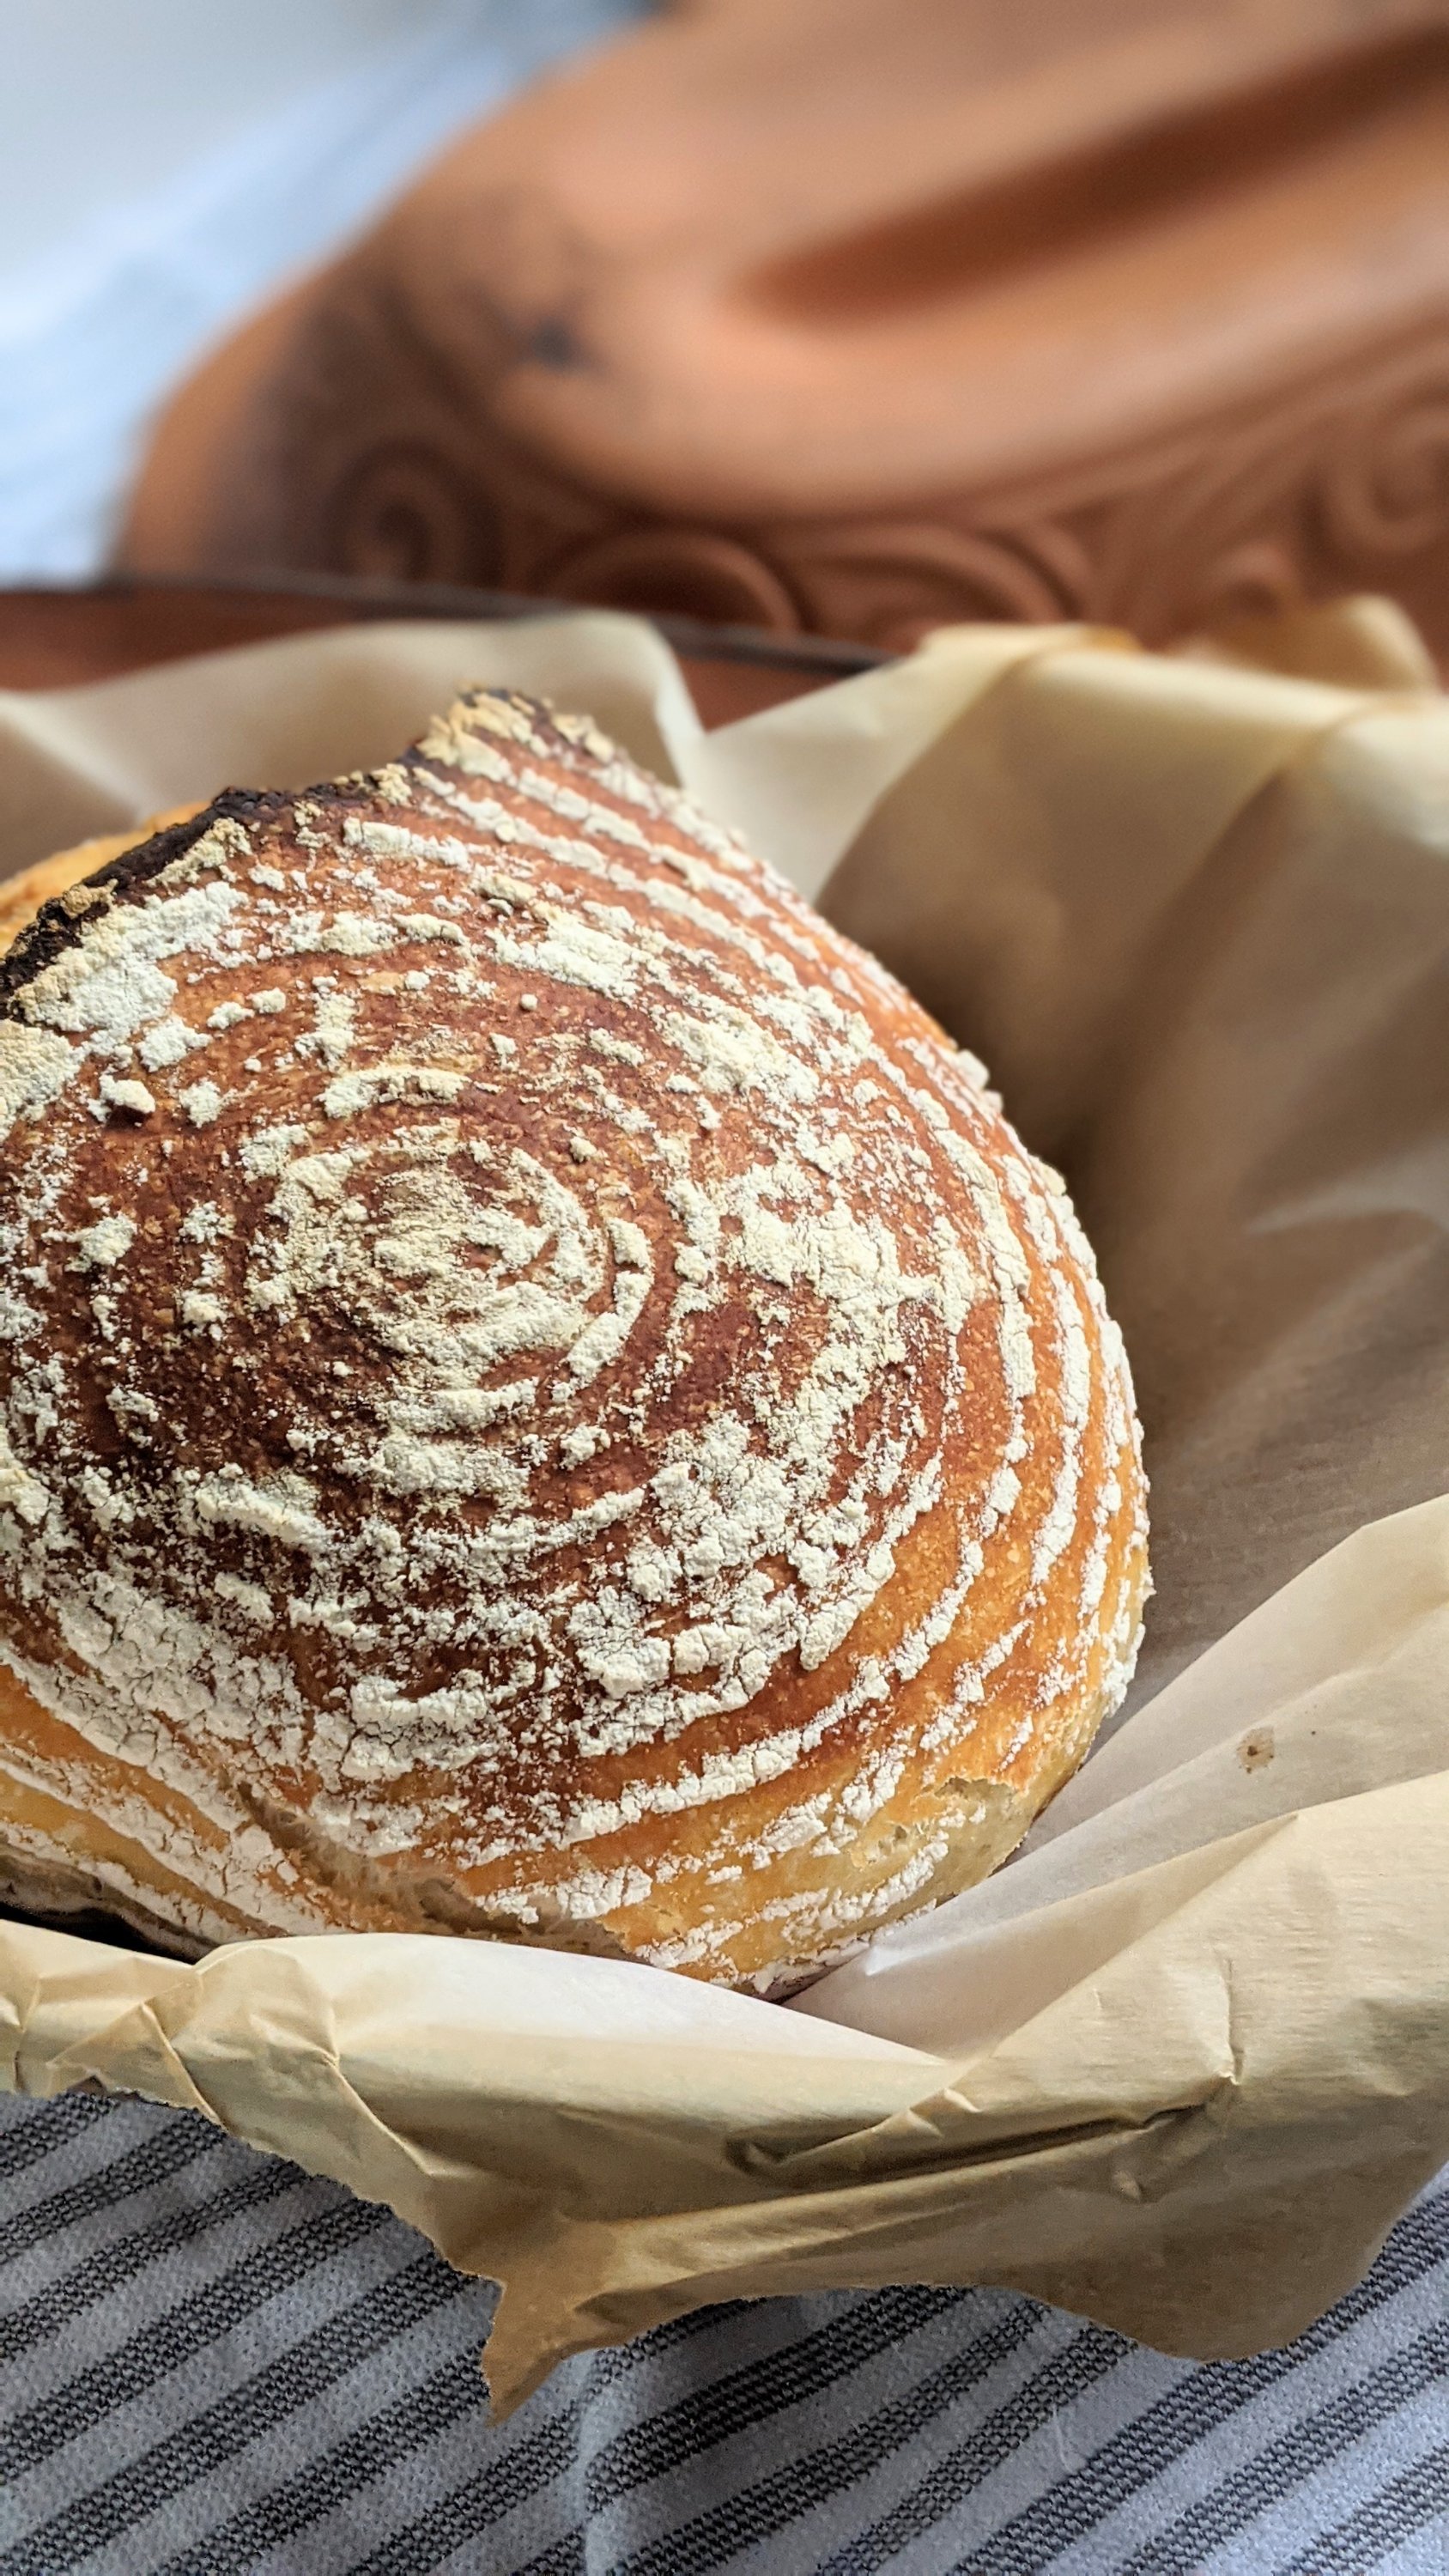
Romertopf Sourdough
I decided to give my Dutch oven a rest, and test out my Romertopf Clay Pot as a vessel to bake sourdough in. And the results? Absolutely delicious, warm and chewy sourdough with a crunchy crust. So basically… perfect consistency! The texture and crumb was exactly the same as when I bake in my Dutch Oven.
I also love baking chicken in the clay pot… if you are looking for a foolproof recipe, this Romertopf Clay Pot Chicken & Roasted Vegetables is our favorite!
Easy Bread Recipes With Sourdough Starter Discard
This Sourdough Garlic Naan recipe is the perfect way to use your sourdough discard from a starter. I hate throwing out food (or rather, composting it!)- so I’m always looking for ways to reuse kitchen scraps to cut back on waste.
Instead of tossing your discard when you feed your sourdough starter, try this awesome recipe instead. I have a whole page on my site for recipes that use sourdough discard. That way you can add a hint of sourdough flavor to your baked goods, and cut back on food waste.
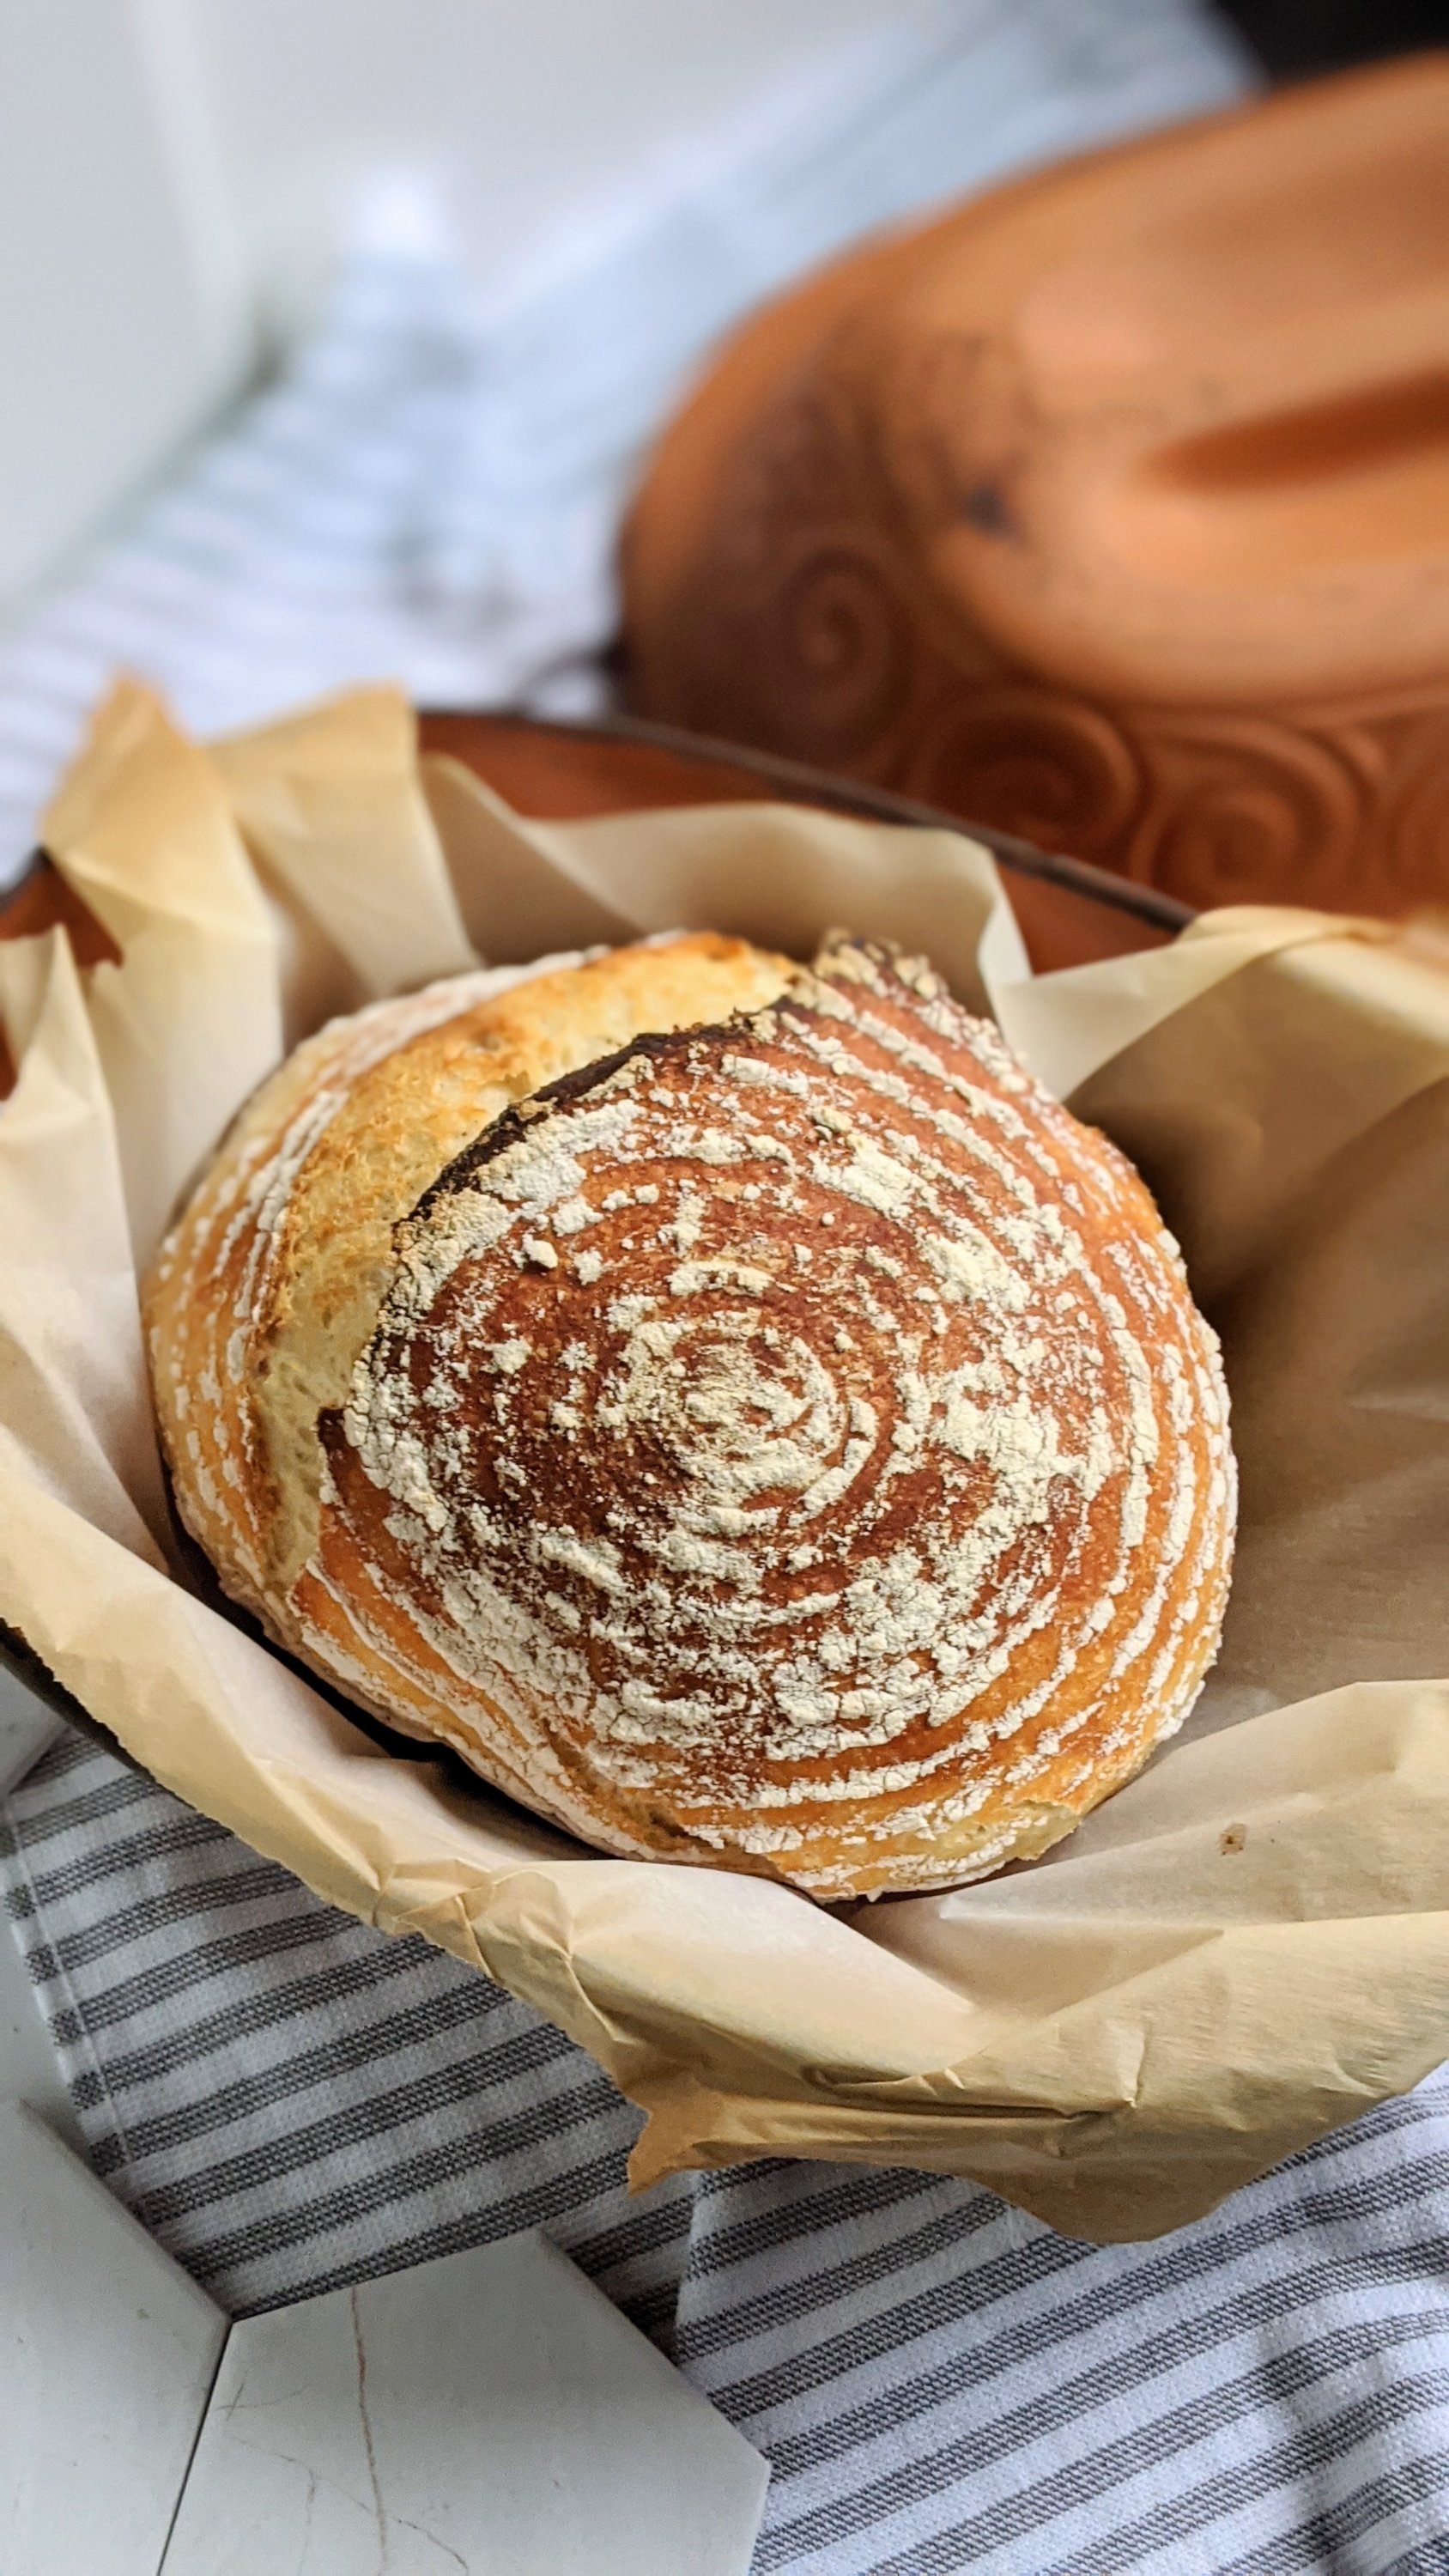
What’s In This Clay Pot Sourdough Bread Recipe?
OK making bread in a clay pot couldn’t be easier! All it takes are just 4 simple ingredients, a clay pot, and a little bit of time.
What makes plant-based cooking easier for me is keeping whole ingredients on hand: beans, lentils & grains, and lots of fresh produce. I order many of those from Misfits Market, which focuses on reducing food waste! Get $25 off your first order if you’d like to try it.
- Sourdough Starter: I made my sourdough starter from scratch, but you can buy pre-made starters that you just need to hydrate. These sourdough cultures are really neat, I’d like to try one out sometime to see how different they taste from my own starter!
- Flour: I like to use all-purpose flour which I’ve find gives me the best and most consistent results. Perfect texture, a great flavor, and light & airy bread.
- Yeast: I like a fast rising yeast, which also gives the bread a fantastic flavor!
- Water: normal tap water works just fine!
- Salt: a fine-ground salt works best for this recipe. Don’t use coarse or flaked salt for the bread, it will bake unevenly. This fine grain Celtic sea salt is perfect.
Equipment
- I also use a bamboo Banneton proofing basket which makes that gorgeous thumbprint pattern on the top. Not required, I love my Banneton basket- it will make your bread look super professional!
- Romertopf Clay Roaster: great for breads, meats, vegetables, or anything you want to roast!
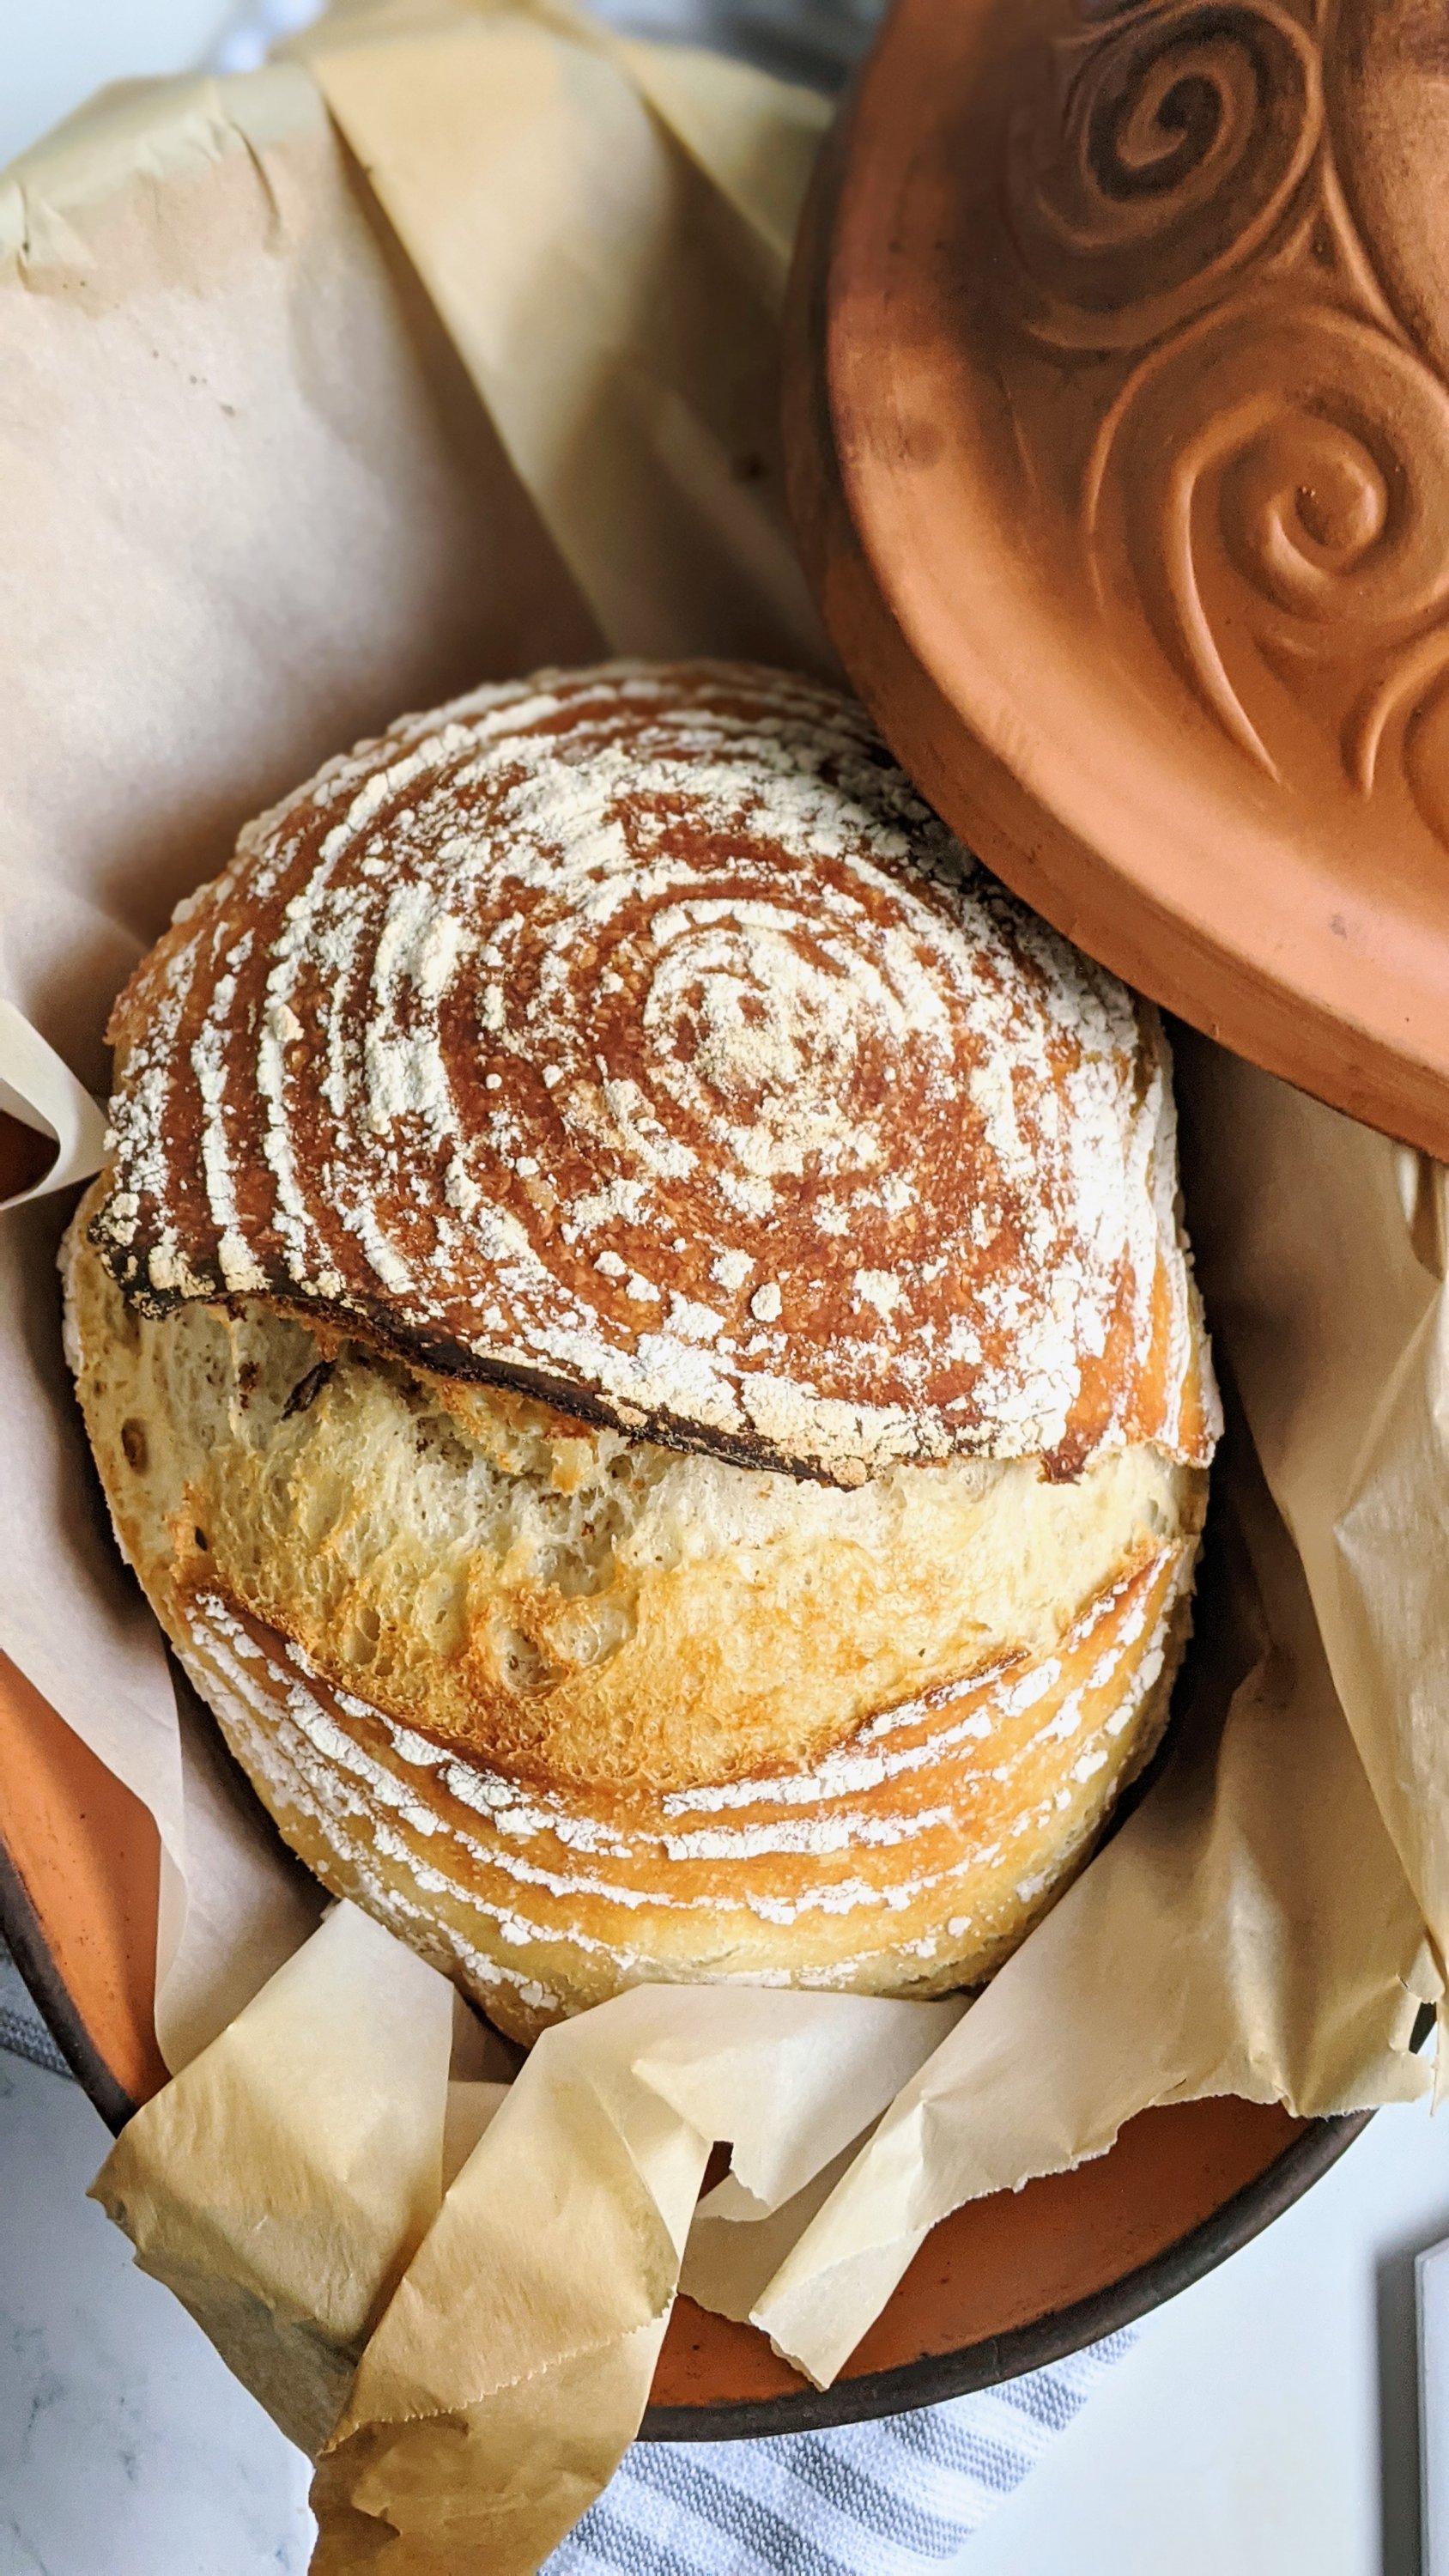
Pantry Staple Clay Pot Roaster Recipes
This pantry staple bread is a true wonder! It can be made with a few simple ingredients you probably already have in your cupboard. A fresh loaf of artisanal sourdough can be ready in no time! And you can stock up the ingredients to make this bread again and again, without a trip to the store.
The great thing about this sourdough is that it is super versatile! You can toast if for breakfast or turn it into Garlic Lover’s Baked Garlic Bread.
This can be cooked in a Romertopf clay pot roaster or a LoafNest Bread Dutch Oven Cooker…. I’ve even seen clay planters being used to bake but haven’t tested that out yet!
How Do I Make Sourdough In a Clay Pot Roaster?
- The previous night, add the sourdough starter and water to a large mixing bowl. Add in the salt and the flour one cup at a time, stirring frequently. The dough should be shaggy when finished. Cover with a tea towel and allow dough to rise for 8-18 hours.
- Transfer the dough to a floured bamboo proofing bowl or to a glass bowl, and lightly dust with flour. Allow dough to rest for another hour.
- Fill the sink with lukewarm water. Submerge clay pot, and soak for 15 minutes. After 15 minutes, remove from water, dry off, and place in room-temperature oven.
- Preheat the oven to 425 degrees with the clay pot inside.
- Once oven reaches temperature, remove the clay pot from the oven, add parchment paper to the bottom (optional) and add the dough to the pot, and place back in the oven with the top on for 30 minutes.
- Carefully remove the clay pot lid, and allow the bread to bake for another 10 minutes. Oven temperatures can vary, so if your bread hasn’t browned after 10 minutes, you can bake it uncovered for an additional 5-10 minutes until it reaches the color you prefer.
- Remove from oven, place the bread on a clean surface to cool, and wait 15 minutes before slicing!
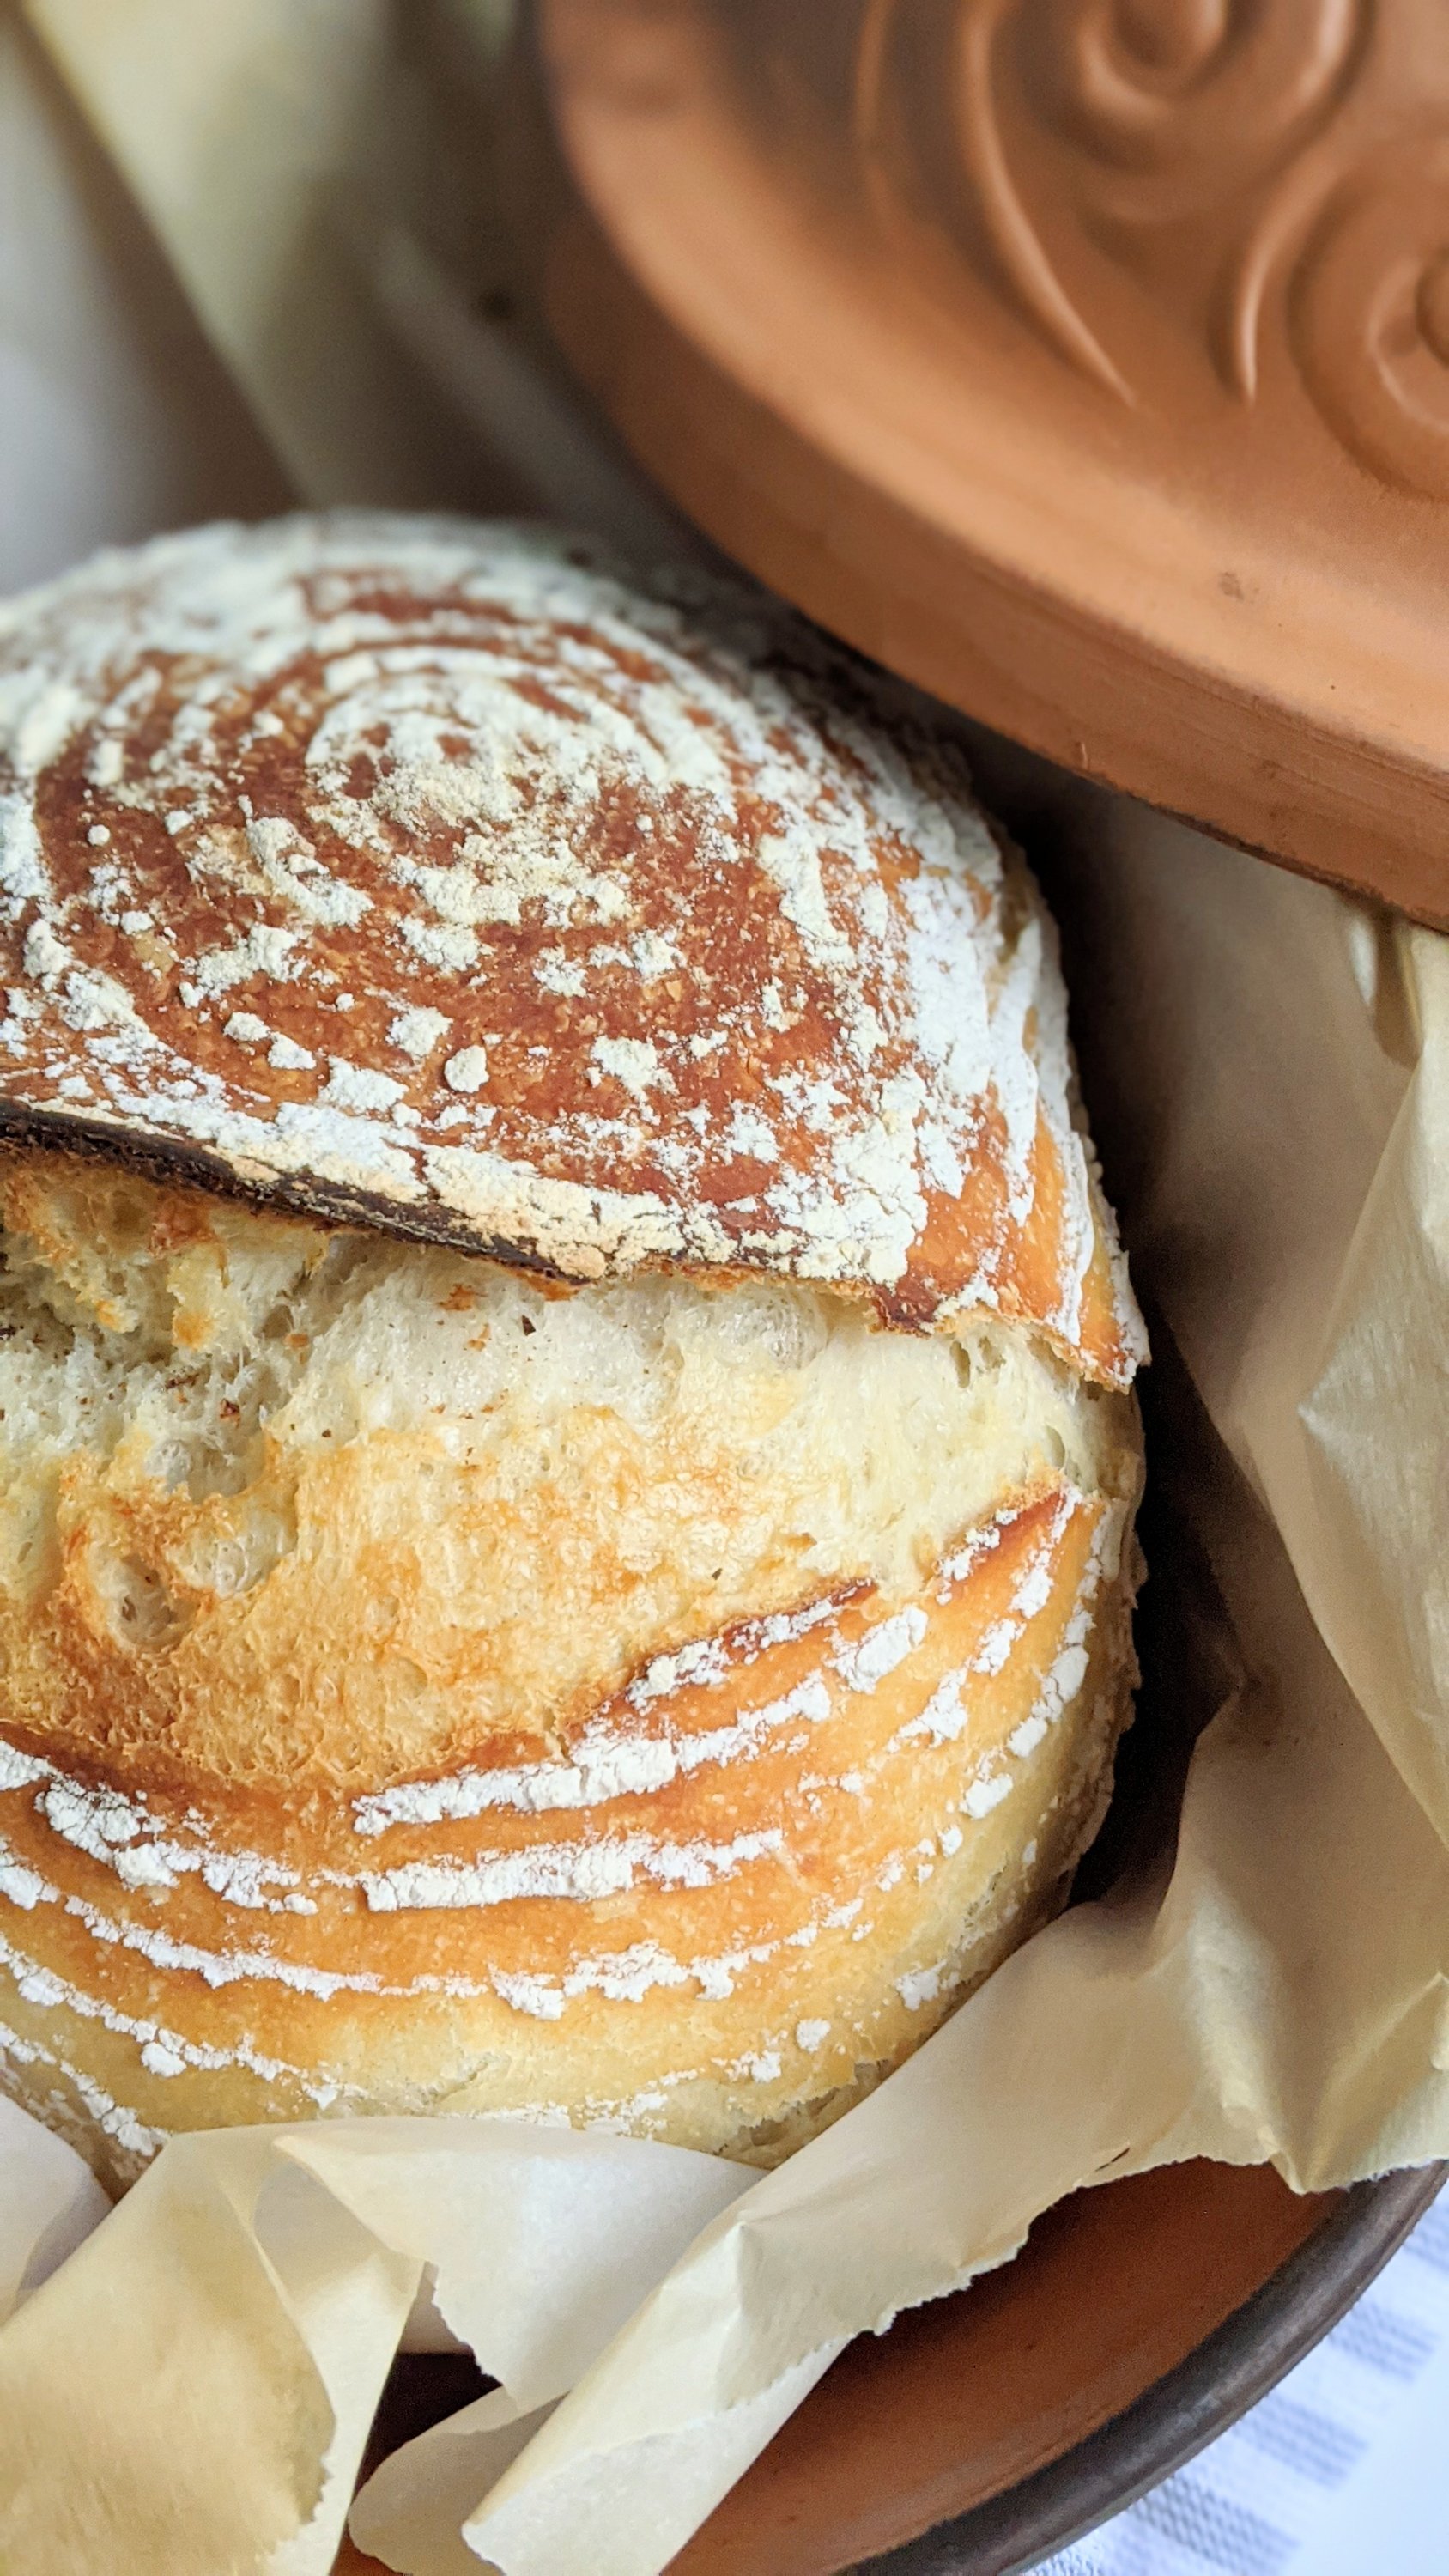
What’s great is that you can bake this bread with any flavors you want. Add lemon and rosemary, or olive oil and thyme, or garlic and chopped olives, etc. etc. the possibilities are endless.
I love this bread recipe because of how simple it is to make! I actually use the backing method for sourdough bread too, using my Simple Sourdough Starter Guide and recipe for baking your first loaf!
More Easy Recipes with Sourdough Starter
Sourdough Bagels Recipe (Vegan)
Garlic Naan with Sourdough Starter Recipe (Vegan, Dairy Free, Egg Free)
Sourdough Bread Stuffing with Sage (Low Sodium Stuffing Recipe!)
Sourdough Starter Pizza Crust Recipe (Vegan, Dairy Free)
Vegan Sourdough Croutons with Garlic & Herbs
This bread is on my list of Top 125 pantry staple ingredients and recipes, and goes great with any meal!
Share This Clay Pot Sourdough
Let’s connect on social!
If you made this recipe, please leave a star rating and let me know how it went in the comments below. I’d love to hear from you!

Our cookbook One Ingredient, Five Ways has tasty no-waste plant-based recipes for everyone!

Clay Pot Sourdough Bread
Equipment
- Clay Pot
- Parchment Paper optional
Ingredients
- 1/2 cup unfed sourdough starter see notes below on sourdough starter
- 4 cups flour of choice I usually use a mix of 2 cups bread flour and 2 cups all-purpose
- 2 cups warm water
- 2 teaspoons Sea Salt
- 1 teaspoon active dry yeast
Instructions
- The previous night, add the yeast and water to a large mixing bowl. Add in the unfed sourdough starter, salt, and the flour one cup at a time, stirring frequently. The dough should be shaggy when finished. Cover with a tea towel and allow dough to rise for 8-18 hours.
- Transfer the dough to a floured proofing bowl or to a glass bowl, and lightly dust with flour. Allow dough to rest for another hour.
- Fill the sink with lukewarm water. Submerge clay pot, and soak for 15 minutes. Remove the clay pot from the water and towel dry. Place the clay pot in a room-temprature oven.
- Preheat the oven to 425 degrees with the clay pot inside.
- Once oven reaches temperature, remove the clay pot from the oven, add parchment paper (optional) to the bottom and add the dough to the pot, and place back in the oven with the top on for 30 minutes.
- Carefully remove the lid, and allow the bread to bake uncovered for another 10 minutes. Oven temperatures can vary, so if your bread hasn't browned after 10 minutes, you can bake it uncovered for an additional 5-10 minutes until it reaches the color you prefer.
- Remove from oven, place the bread on a clean surface to cool, and wait 30 minutes before slicing!
Notes
Nutrition
This post may contain affiliate links. I may earn from qualifying purchases from affiliate programs, at no additional cost to you. Please read our privacy policy for more information.





Do you score the bread b4 baking?
Hi Kathy, I personally don’t, but you can if you desire. I like when the natural ears form during baking 🙂
This is by far my FAVORITE recipe for sourdough bread! So delicious every time and easy. I’ve made this so many times. As a mom with littles that keep me busy, this recipe is so much easier and not as time consuming.
Thank you so much for the recipe!
I could not bring myself to leave the dough like a batter, so I kneaded it like I would any bread before placing in my clay pot to bake. I didn’t allow it to sit & rise after forming into a round shape- just popped it straight into the heated clay pot. It took an extra 40 minutes to properly brown- an extra 10 minutes at a time with the lid off, after the initial 30. It looks fabulous but I have yet to cut into it.
I baked in a Schlemmertoph clay pot. Just wonderful! Love your recipe!
But I do have a small question. What is the point and purpose of soaking our clay pots for 15 minutes followed by preheating in the oven? Doesn’t all that water evaporate?
So it doesn’t crack. Also don’t move it from hot to cold surface.
This is the second time I’ve tried this to baking, more of a batter than a dough. Is this right? I mean the bread is super moist and yummy but it definitely doesn’t look like the loaf in the photo above. Unsure as to what I’m doing wrong. I’m using sourdough discard, fresh yeast and two cups lukewarm water (95-100 degrees), blended bread & AP flours. The dough is shaggy when first mixed but -12 hours later it’s a batter not a dough per-se. Any advice?
Hi Michele,
If your dough is turning out too liquid-y, I would try adding an additional half cup of flour to the dough next time you make it. That may help firm it up a bit and turn out less like a batter. I’ll work on adding a note in the recipe card to add additional flour if needed, thank you for letting us know!
Happy baking,
Kelly
Hello can we make this without yeast ? One of the only sourdough recipes I have found that use yeast . Thanks
Curious about the clay pot you are using. There are two different sizes and not sure which works best for a baking sourdough. Do you use the 1.5 liter or the 2.5 liter version?
Hi Carol,
I use the larger 2.5 liter Romertopf – It’s the perfect size for this bread, and also large enough to bake a whole chicken and vegetables for dinner.
– Kelly
Crusty on the outside. Soft on the inside. Delightful
Hi, was really excited to try your recipe but got confused as some parts of your recipe mentioned parchment paper to line the claypot was optional and some parts did not have (optional). Initially, I transferred my proofed bread directly into the claypot, panicked that it would stick, poured it out, reshaped and put it back in with parchment paper. By then it was a sticky mess. Still just threw everything in. Hope it would be ok.
Hi Lee – thank you for the feedback on the parchment paper. I just updated the recipe card to make sure the word “optional” is right at the top, apologies for the confusion! How did it turn out?
Hello!
I baked this recipe exactly as written in my clay baker. I was concerned about the lack of any shaping of the dough prior to baking. The only negative I experienced was the paleness of the finished loaf, even after an extra 10 minutes with the lid off. After those 10 minutes, the loaf was a little less pale. The temp of the loaf was 202 F. I took it out of the baker and removed the parchment. I placed the loaf directly on the oven rack for an additional 10 minutes. The color was a little better…not as pale but not like your picture.
I’ll post again once the bread has cooled completely to see how the crumb is. Is it common for clay baked bread to be paler in color? Is there a way to improve the browning?
Thank you!
Hello Betty! I’m so glad you took the time to bake this. For shaping, I use a proofing bowl (in the second instruction note above) to shape the dough. I transfer it from the proofing bowl directly into the clay pot.
And for browning, I get the color on my dough with 10 minutes uncovered, but if you would like yours more brown just bake it for an additional 5-10 mintues uncovered until you get the desired color. I’ve gotten consistent color on all my loaves… but oven temperatures can vary oven-to-oven, so I’ll make a note in the recipe card above to bake it longer uncovered if you would like a browner loaf.
Love this. Soooo yummy