Sourdough Hawaiian Bread Recipe
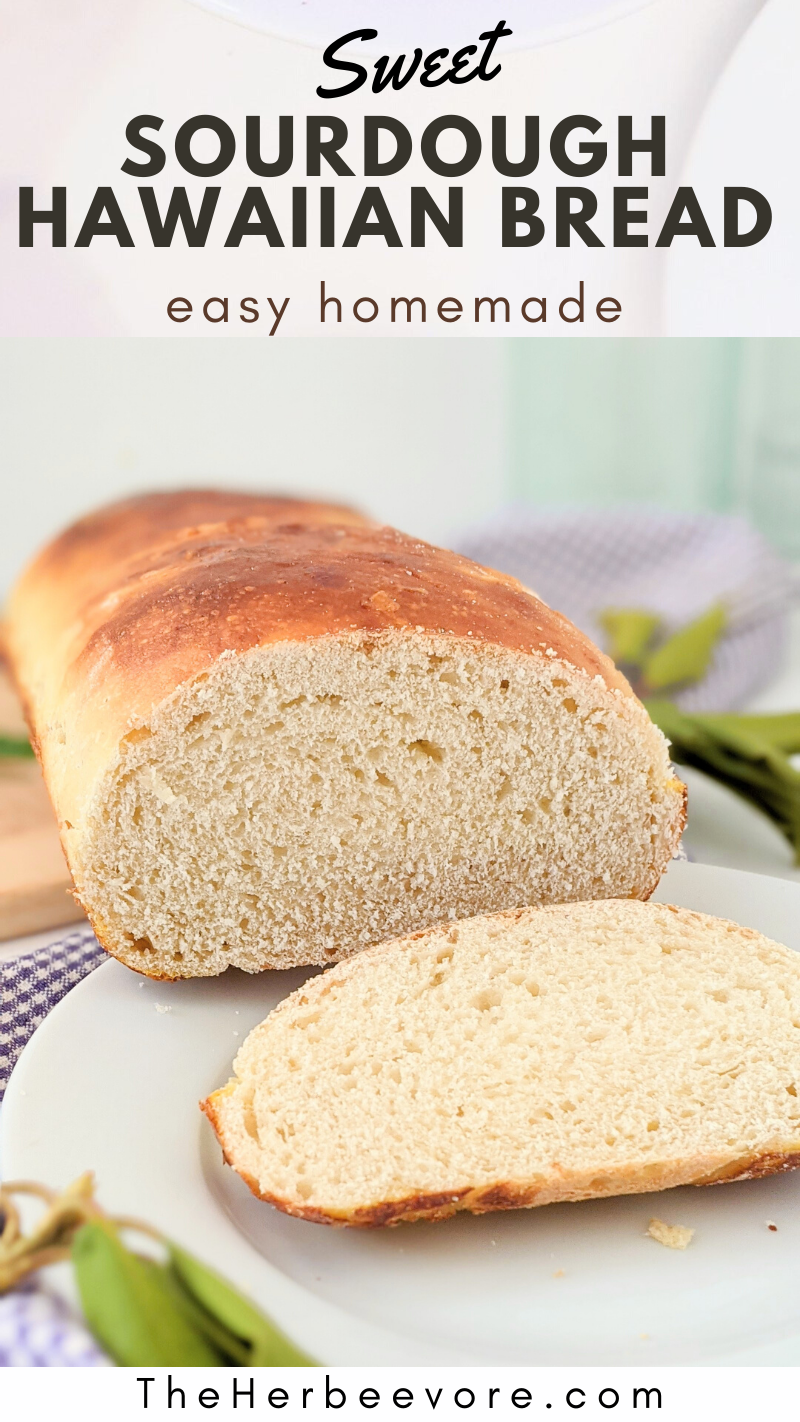
This airy and light no-knead sourdough Hawaiian bread recipe is a soft and light bread made from your sourdough starter, naturally sweetened with pineapple juice. This pantry staple bread is great for sandwiches, French toast, and dipping into olive oil.
This overnight sourdough Hawaiian bread loaf recipe is simple and delicious, a perfect bread for beginner bakers.
Want more tasty sourdough recipes? Try our sourdough panzanella salad, sourdough pretzel buns, or sourdough discard pizza dough!
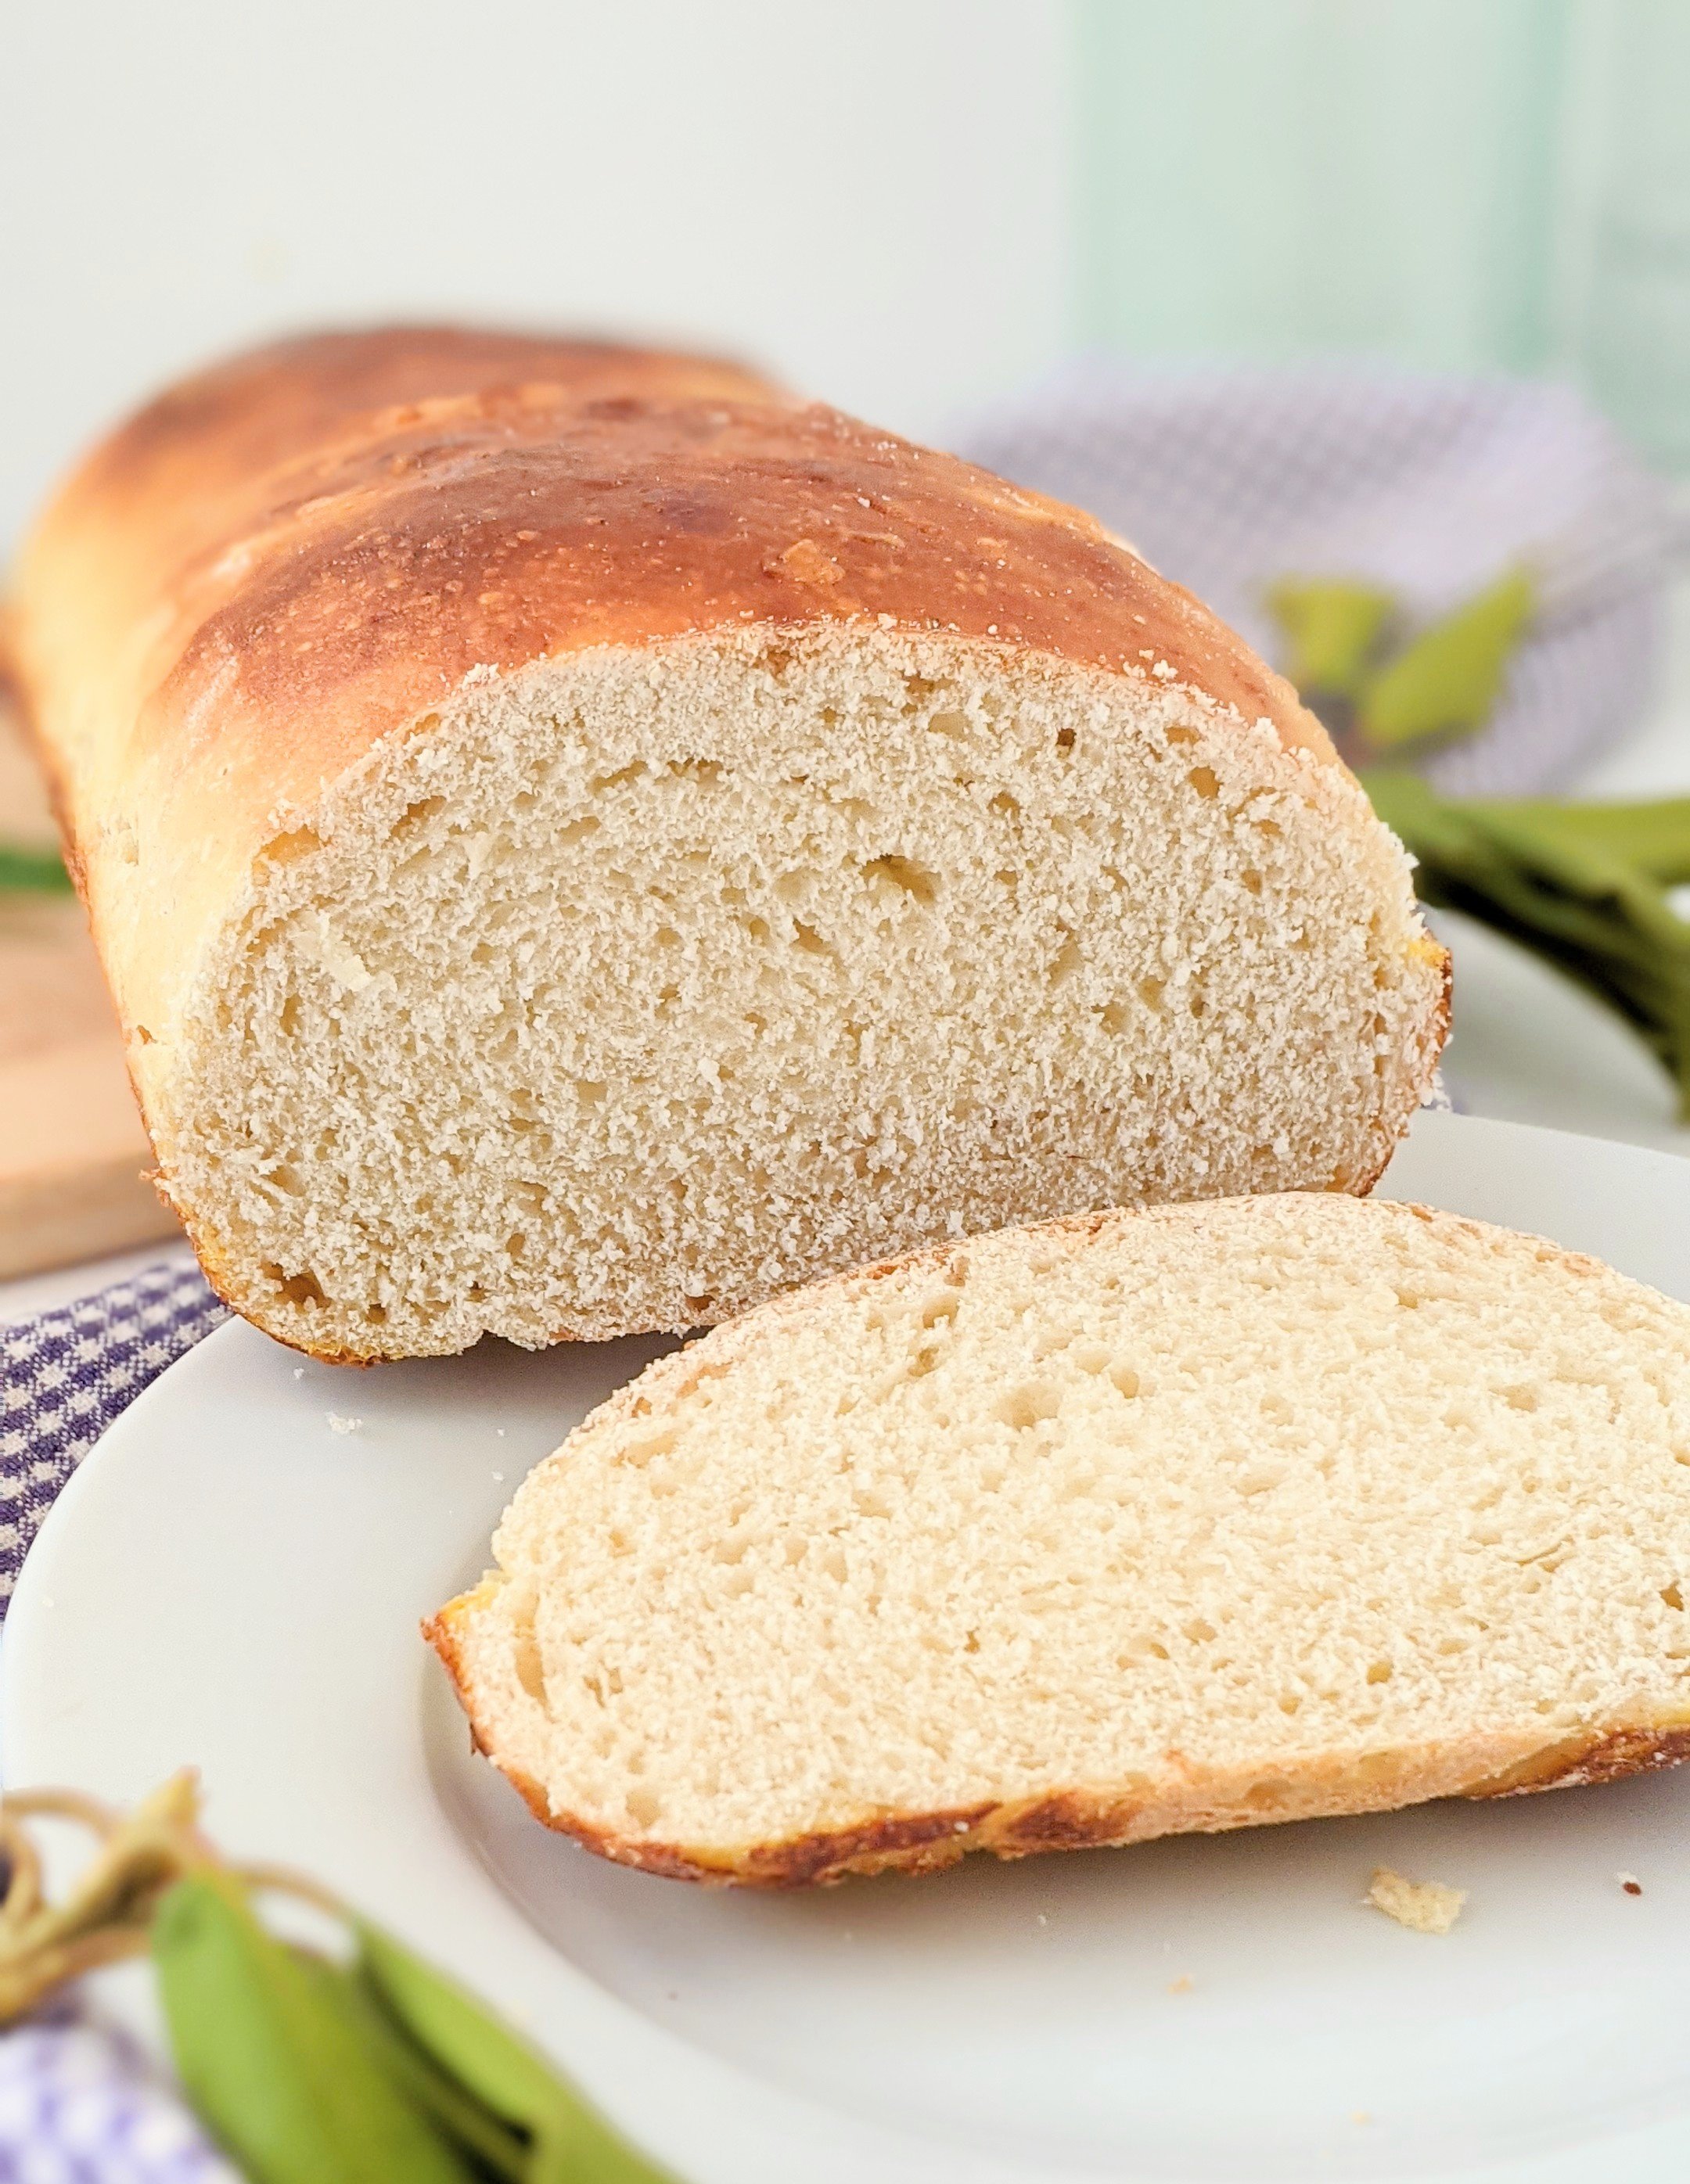
After making my amazing sourdough brioche bread recipe a few weeks back, I was inspired to make my favorite sweet bread recipe: Hawaiian bread! I love the delicious Hawaiian bread you get at the store (King’s Hawaiian is the kind they sell near me) and wanted to recreate it with my sourdough starter.
And let me tell you – this bread makes the perfect loaf for breakfasts, brunches, sandwiches, and toast! The sweetness of the Hawaiian bread is a fantastic flavor and really levels up your bread game.
This No Knead Sourdough Hawaiian Bread Recipe Is:
- Light
- Airy
- Sweet
- Flaky
- Simple
- Flavorful
- Made without Kneading
- An easy overnight bread for beginning bakers
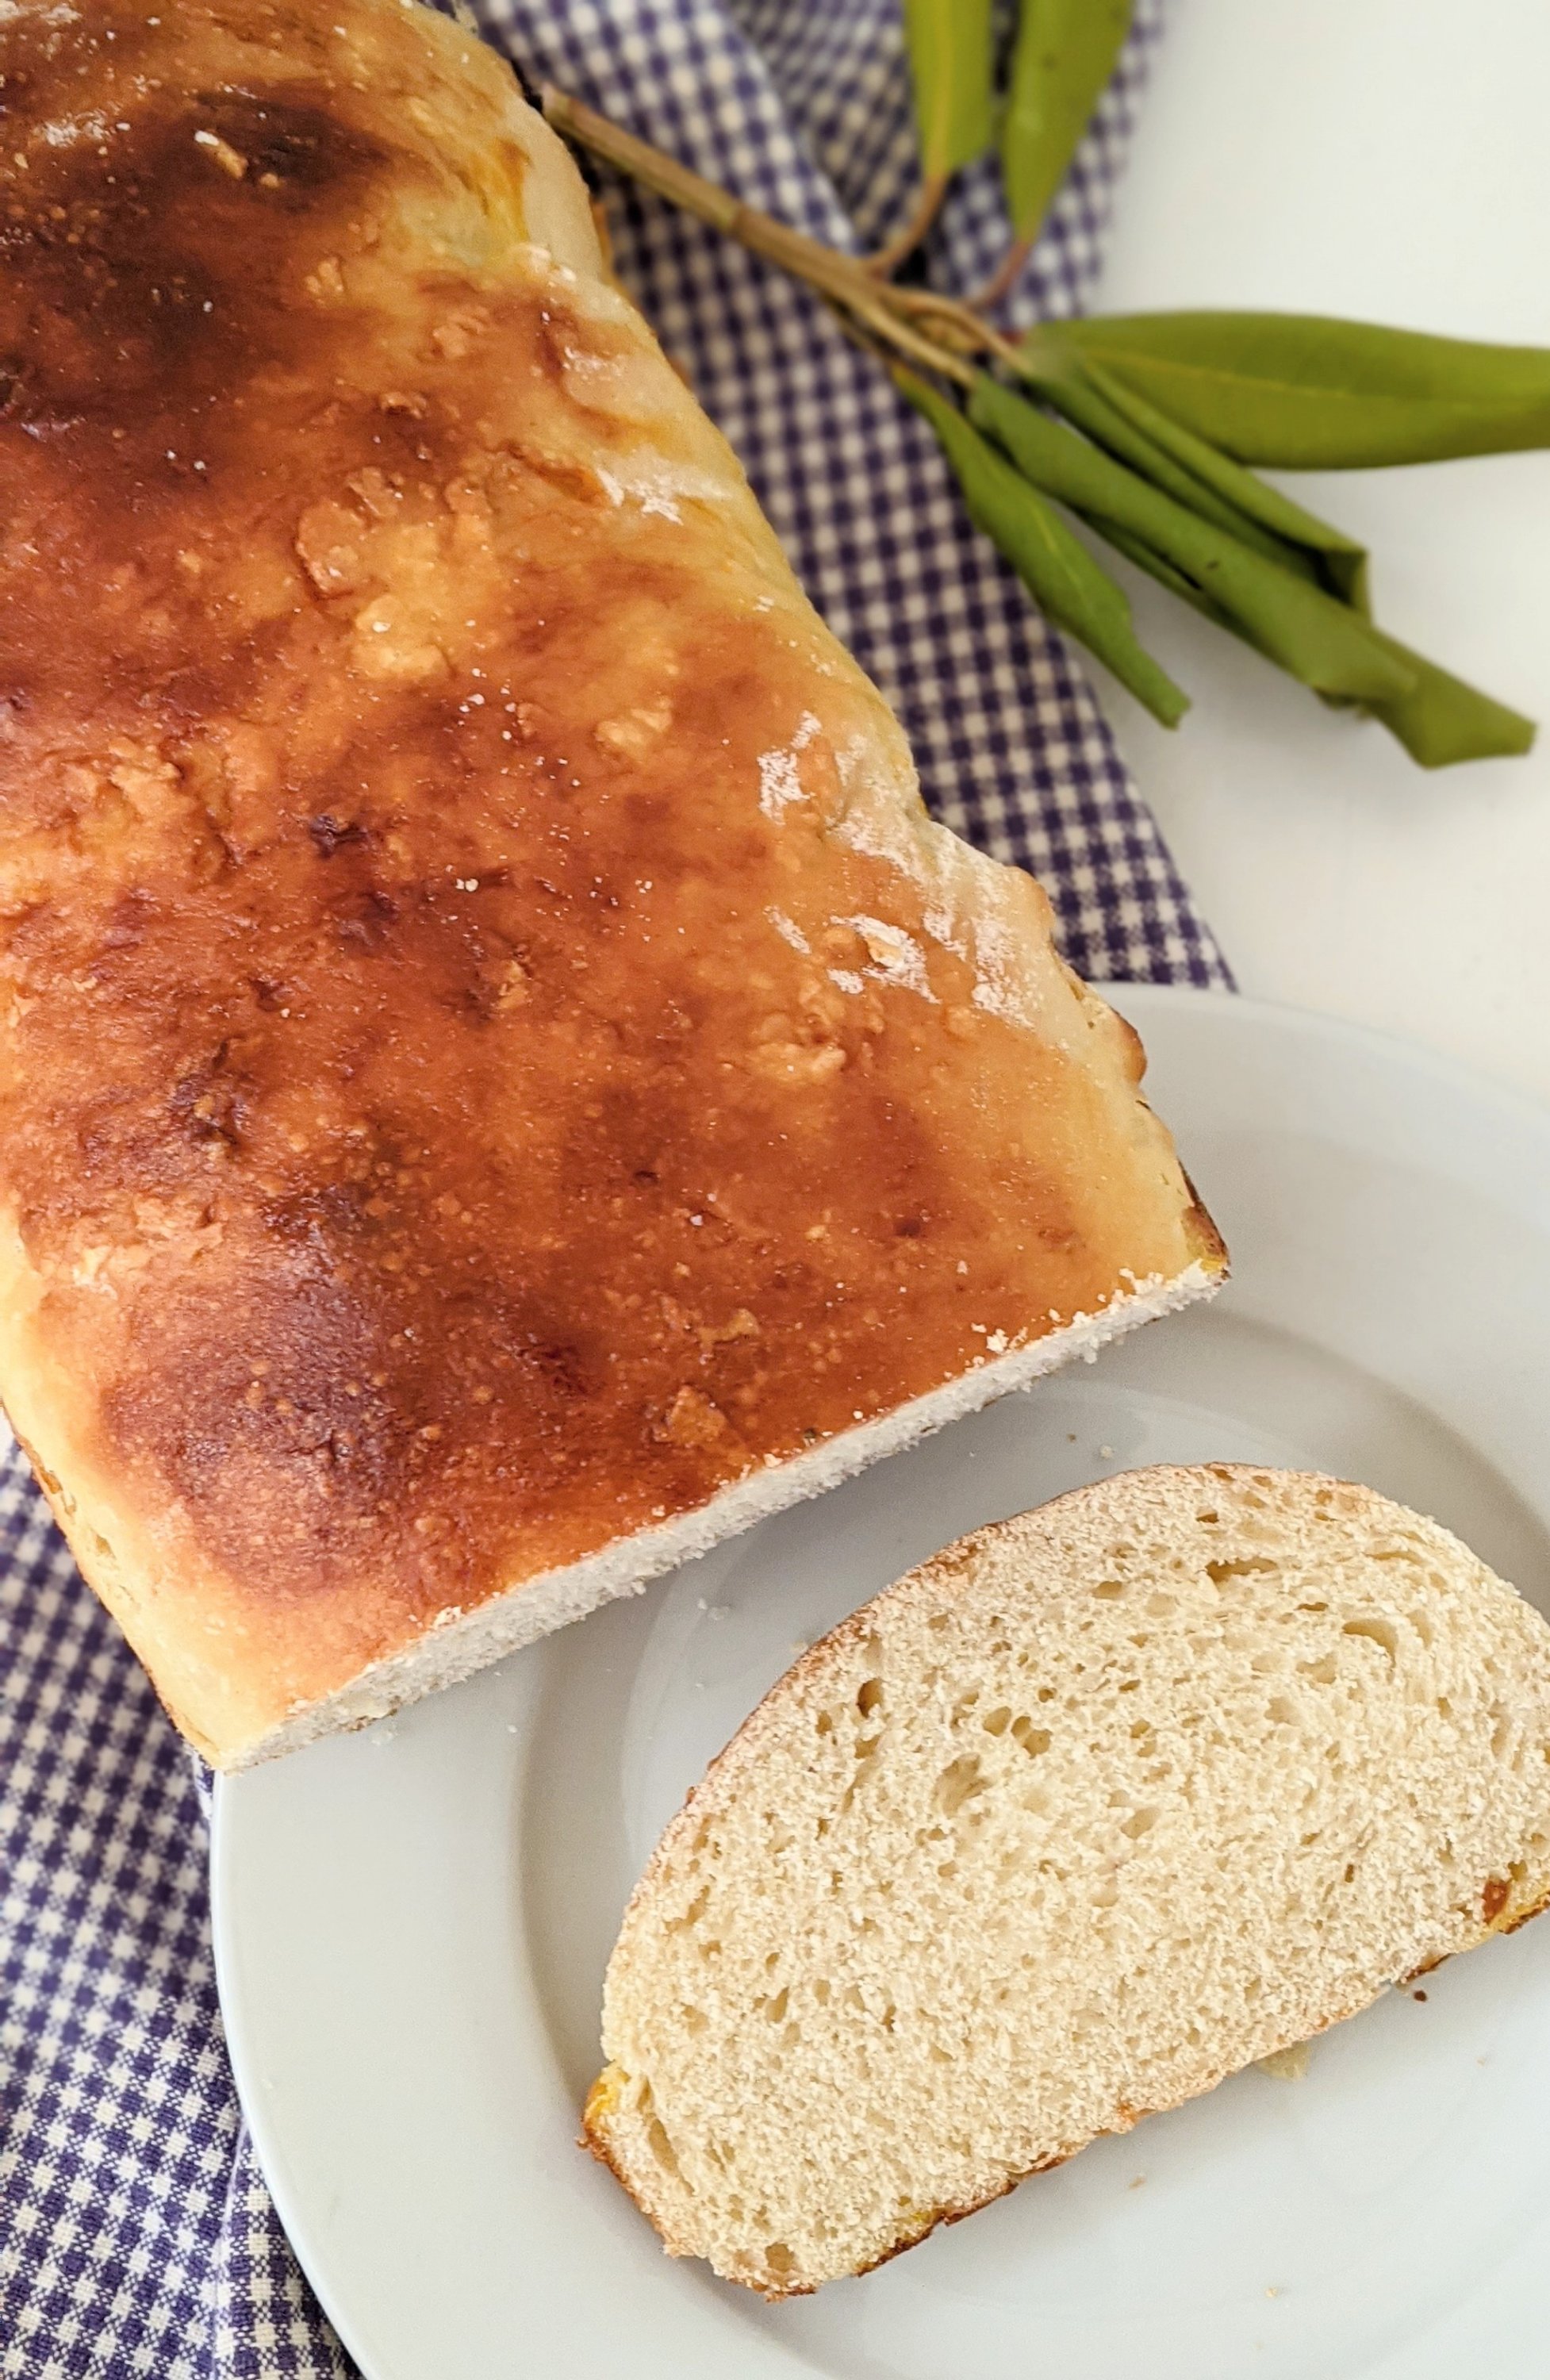
Sourdough Starter Discard Hawaiian Bread
This Sourdough Brioche recipe is the perfect way to use your sourdough discard from a starter. I hate throwing out food (or rather, composting it!)- so I’m always looking for ways to reuse kitchen scraps to cut back on waste. Instead of tossing your discard when you feed your sourdough starter, try this awesome recipe instead.
Browse all our sourdough discard recipes. That way you can add a hint of sourdough flavor to your baked goods, and cut back on food waste. This brioche recipe uses unfed starter, so just use the discard straight from the bowl.
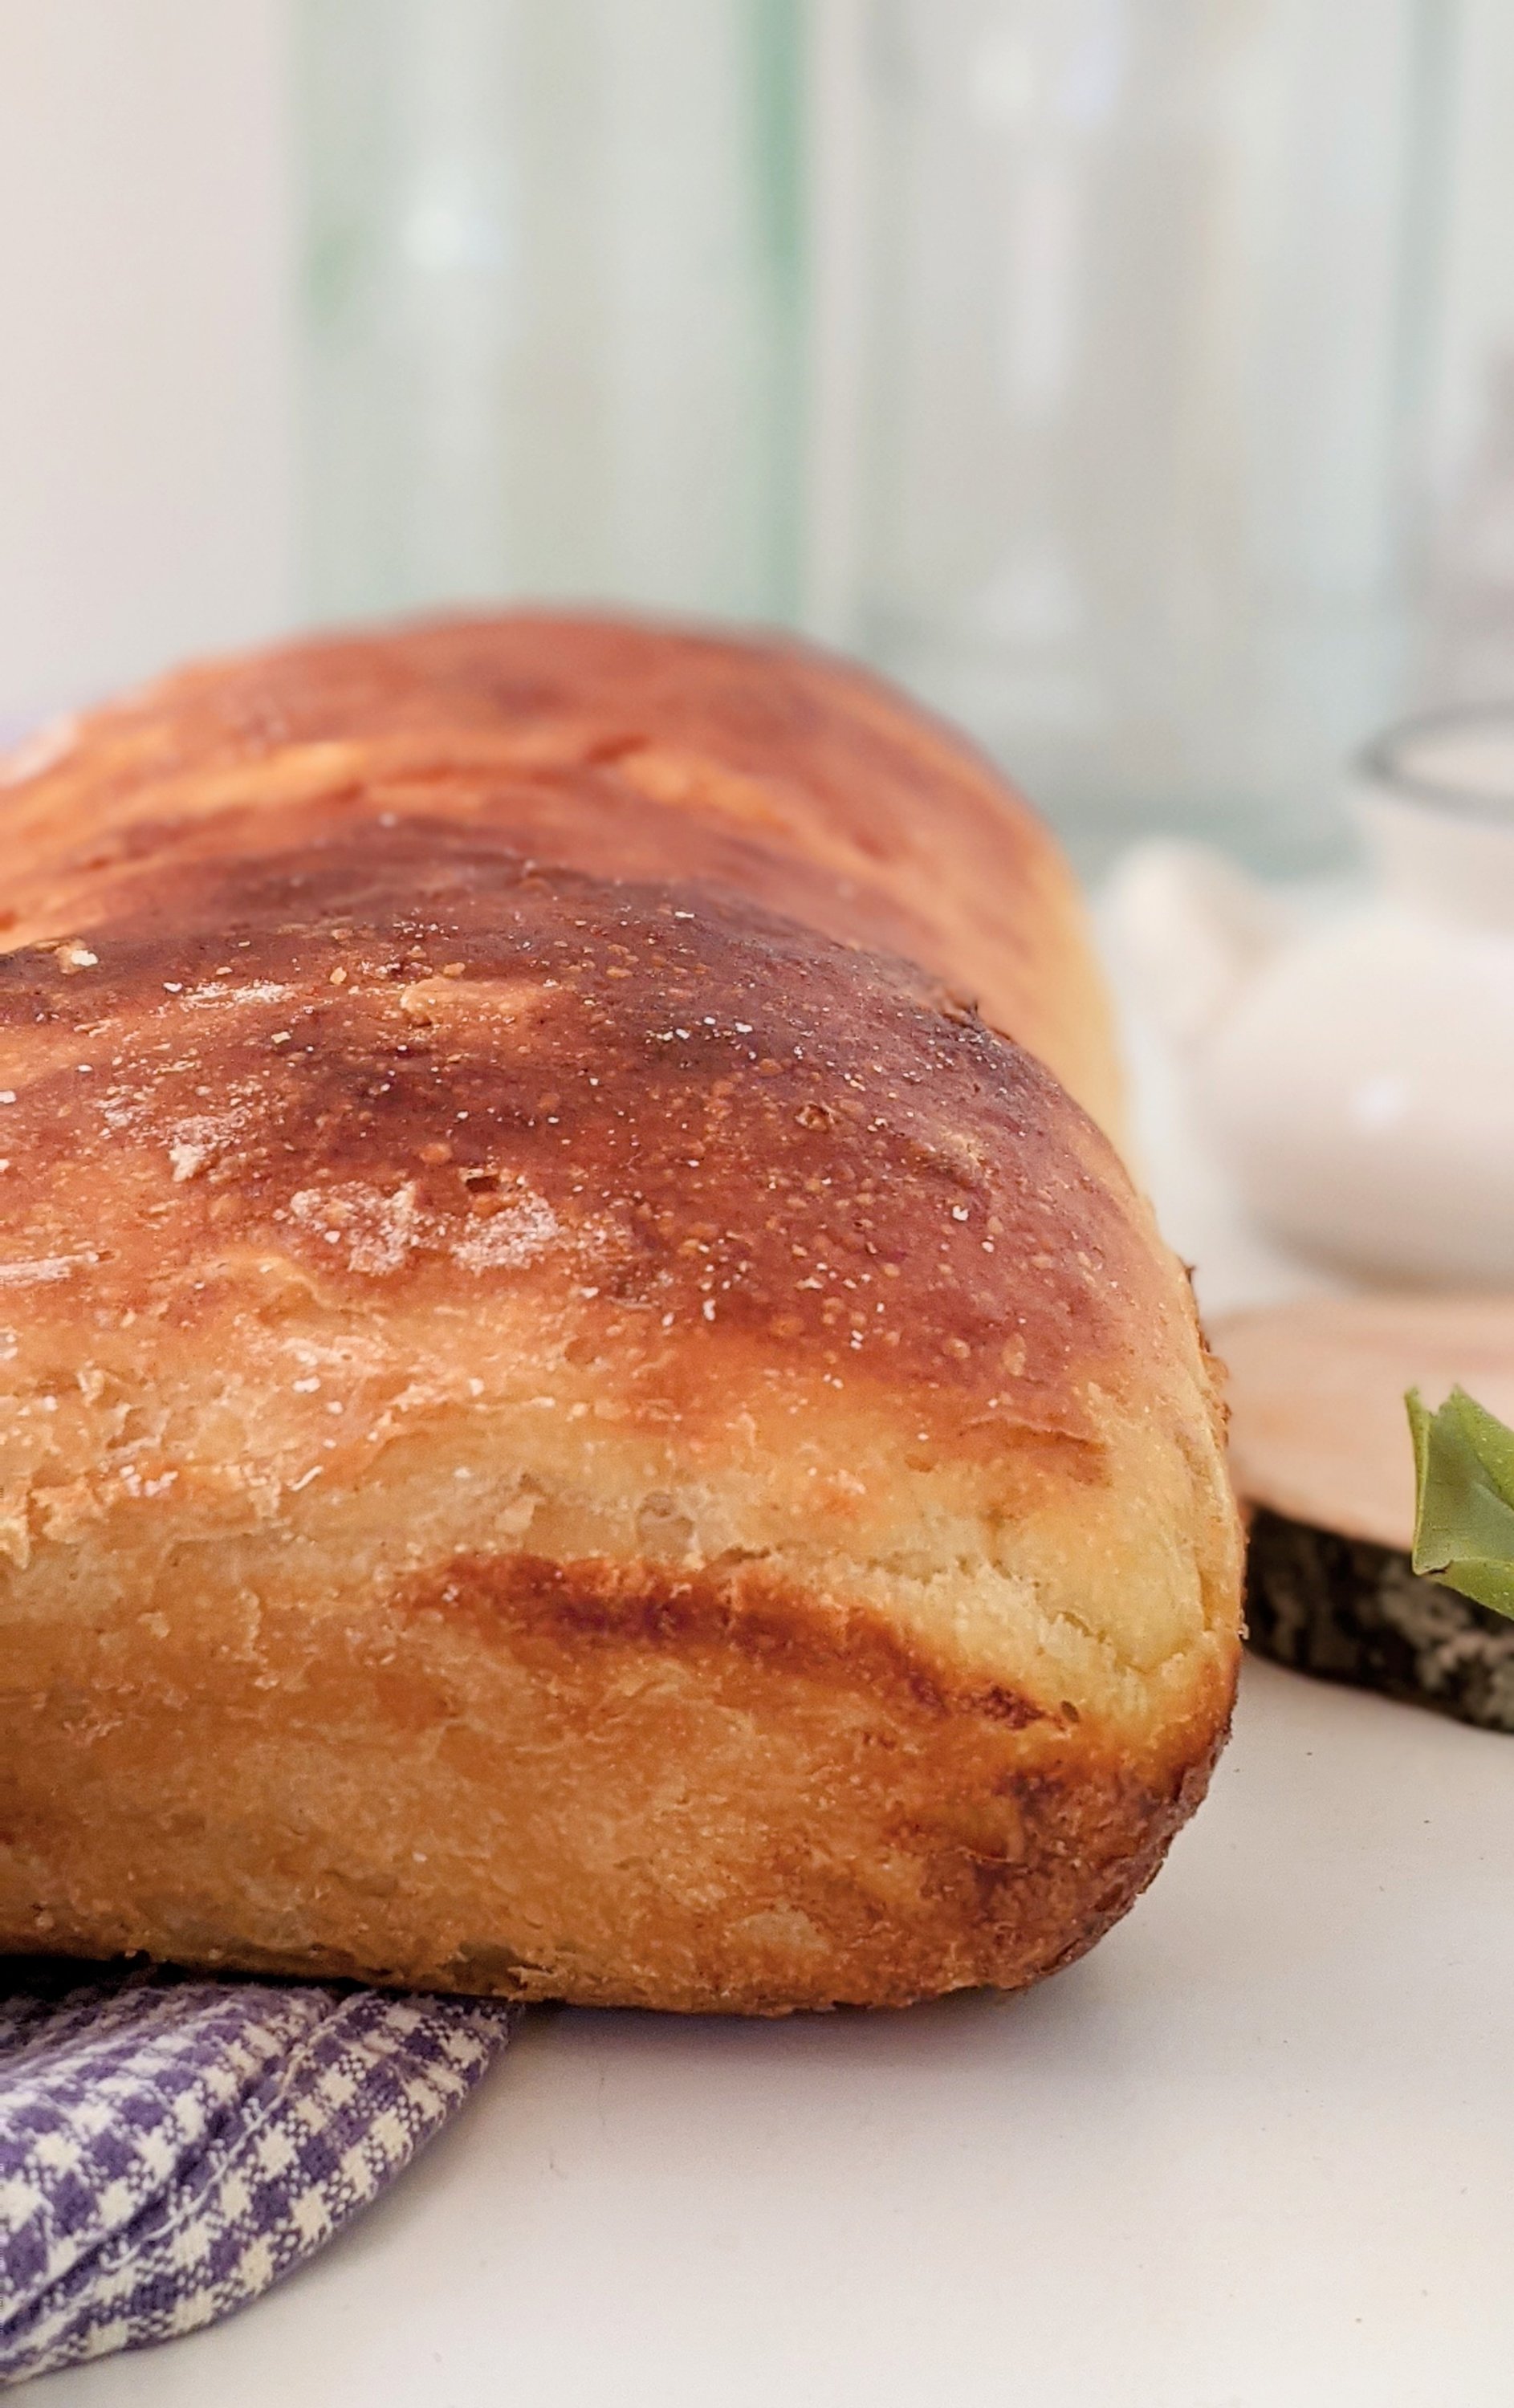
What Makes Bread Hawaiian?
Hawaiian bread is made with pineapple juice, to give the dough a light and sweet flavor. You can use fresh pineapple juice, frozen, or even canned. I actually used the juice leftover from this canned pineapple, which I love!
That way I can enjoy the pineapple chunks in my recipes (My Aloha BBQ Tofu recipe is a perfect savory/sweet dinner recipe) and use the juice in this bread, or a margarita!
Ingredients You’ll Need
What makes plant-based cooking easier for me is keeping whole ingredients on hand: beans, lentils & grains, and lots of fresh produce. I order many of those from Misfits Market, which focuses on reducing food waste! Get $25 off your first order if you’d like to try it.
- Sourdough Starter Discard: you can buy sourdough starter here, or I have a great guide on how to make your own in one week!
- Pineapple Juice: I used fresh bottled pineapple juice, but canned works perfectly.
- All All-purpose flour: I normally use a basic all-purpose flour for my bread recipes. If you are gluten free, then a gluten free flour would be a nice substitute in this dish.
- Granulated Sugar
- Active Dry Yeast: I stocked up on active yeast which I always find plenty of uses for in my kitchen! Active dry yeast is great for overnight breads and this easy quick bread recipe too! Sourdough starter has naturally occurring yeast, but I like to add some volume with a packet of dry yeast too.
- Salt
- Milk
- Butter, can be plant-based if desired
- Eggs: Mixed right into the dough for a little extra richness. I use eggs in the dough, and also for the egg wash on top of the bread. It gives the brioche it’s signature dark outer color.
- Water
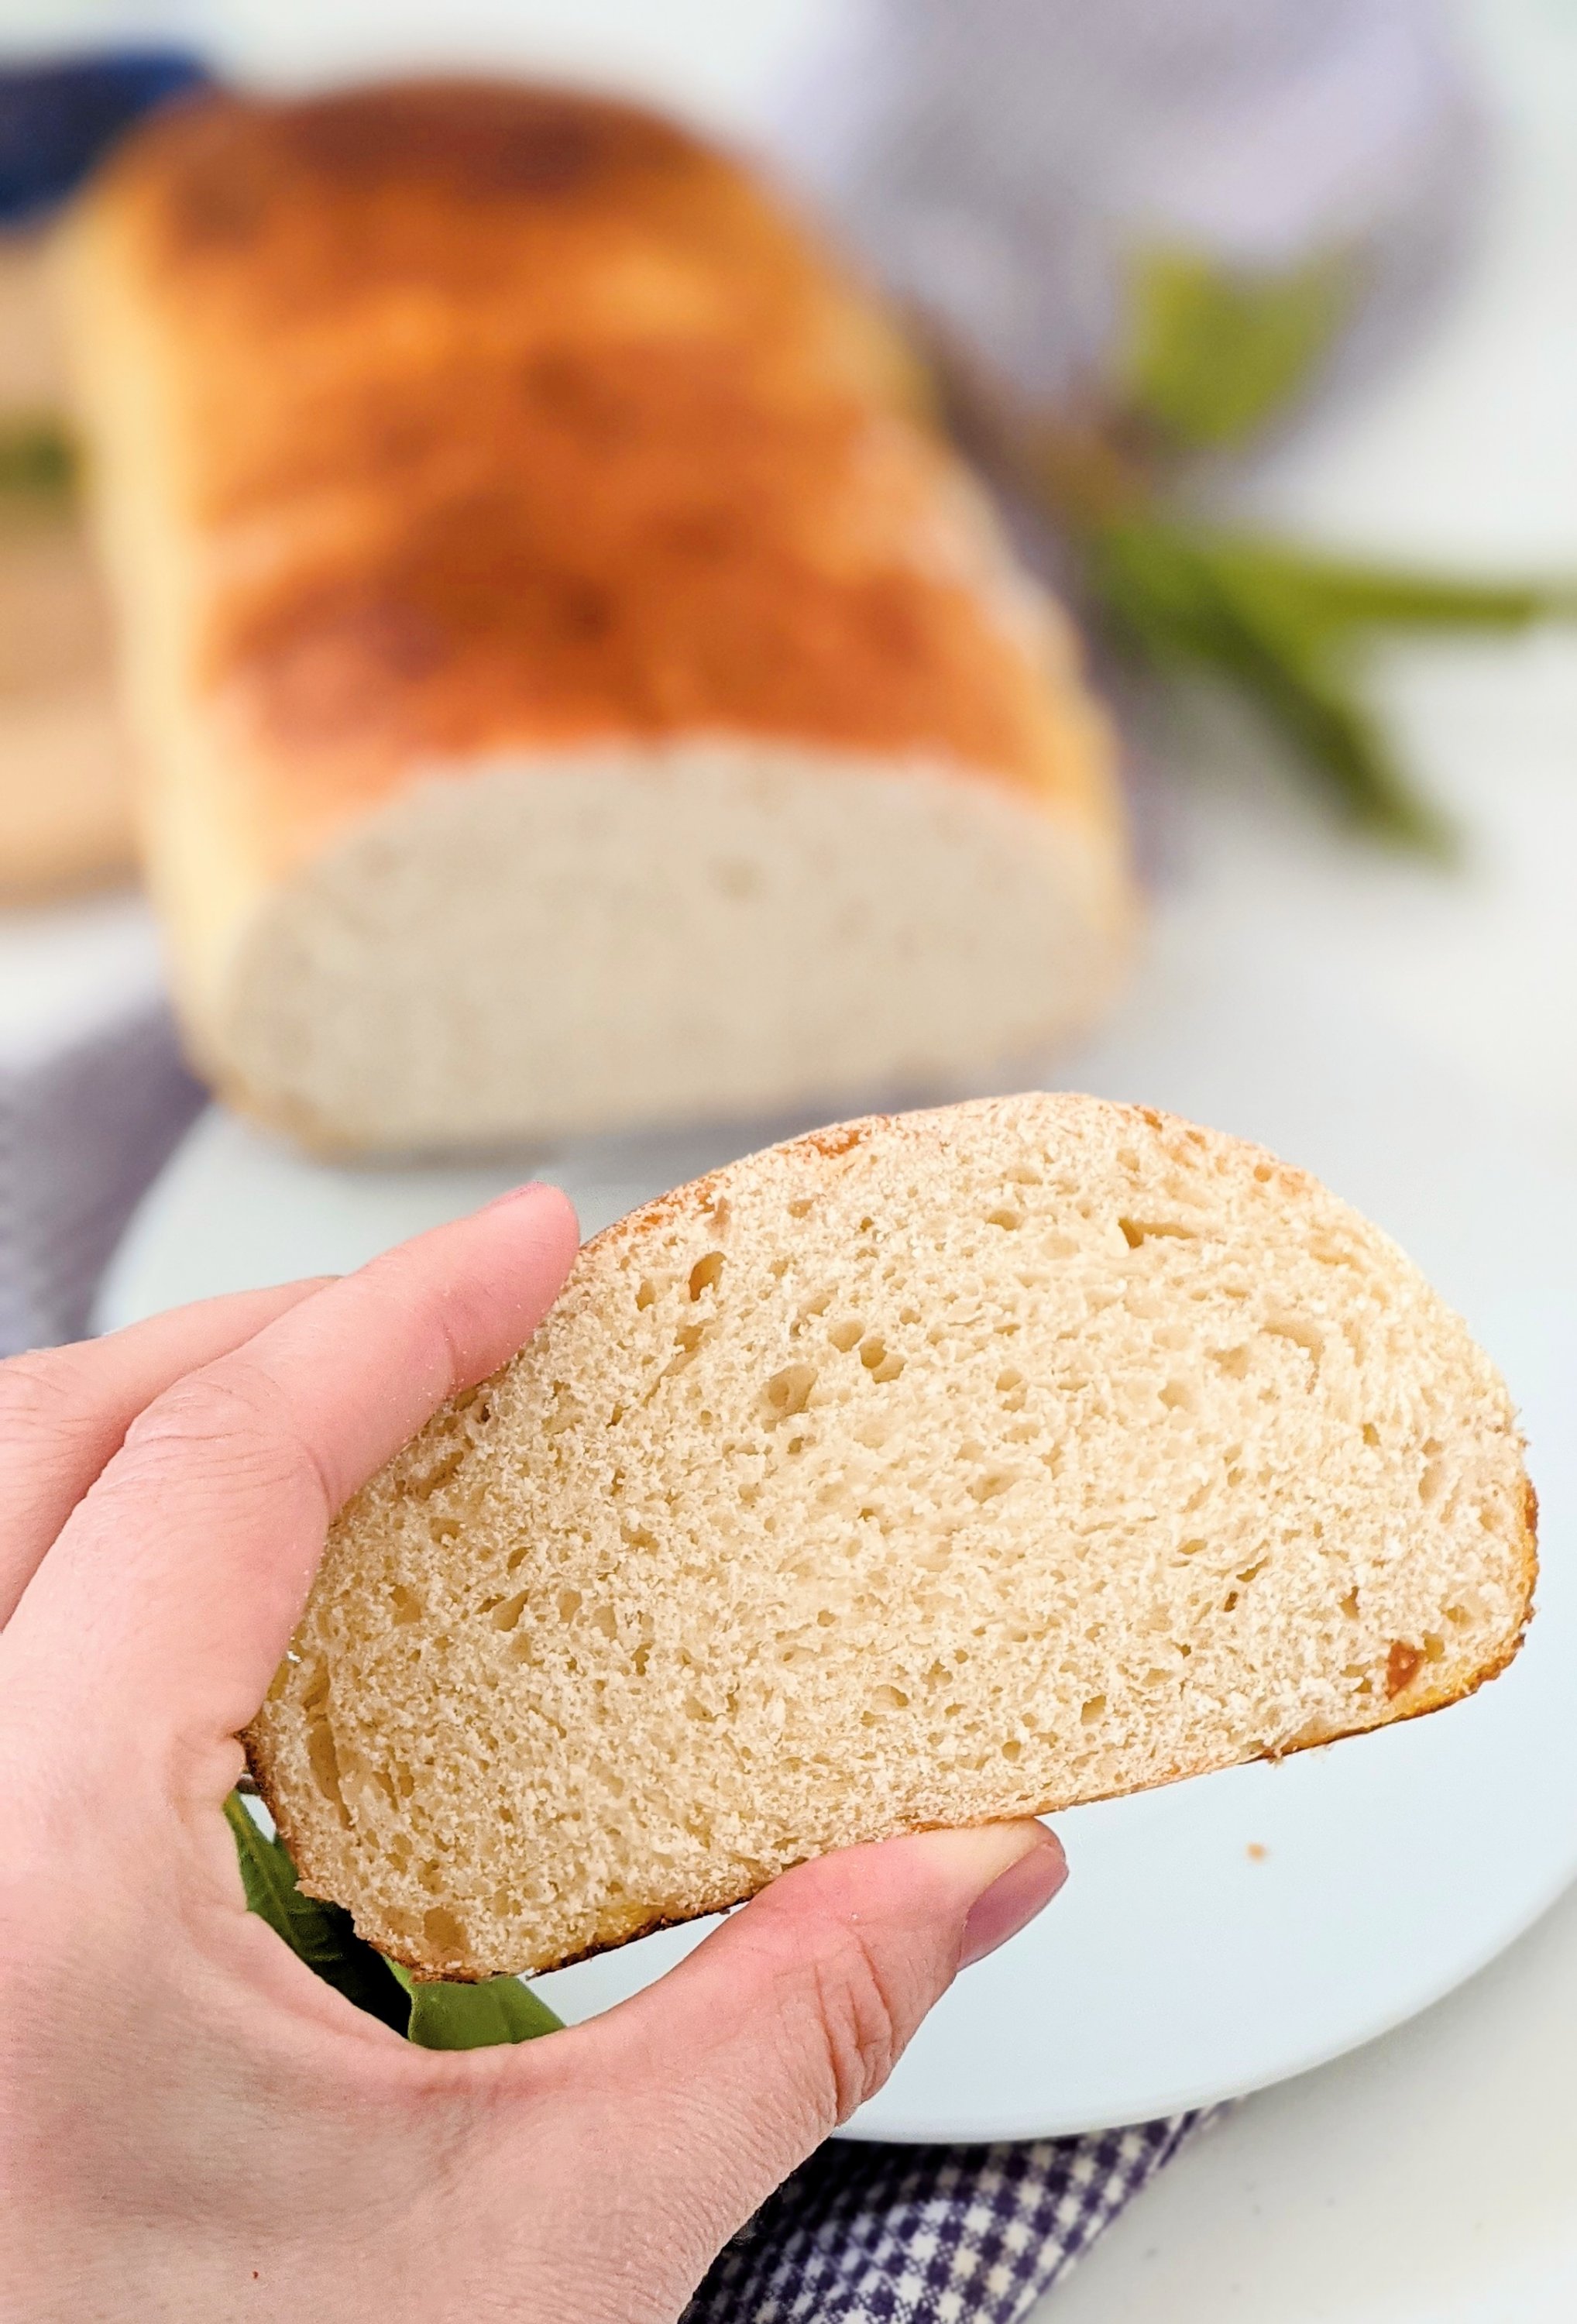
How To Make This Recipe
This may look like a complicated recipe because it has a lot of steps, but believe me this is a simple and easy bread to bake! It’s actually easier than my normal sourdough recipe because you don’t have to knead it.
- In a large mixing bowl, add the sourdough starter, flour (start with 4 1/2 cups), sugar, active yeast, and salt. Mix well to combine, and make a well in the center of the flour mixture.
- Add melted butter, milk, and egg to a bowl, and scramble well with a fork until combined. Add the egg mixture to the center of the flour well. Pour the warm water over the egg mixture. With a large spoon, mix well to combine all ingredients into a dough. Dough should be sticky and thick. If your dough is sticking to the sides of the bowl, add the remaining 1/2 cup flour.
- Cover with plastic wrap and place bowl in the refrigerator overnight (8 to 12 hours).
- The next morning, grease 2 8×4 loaf pans. Turn dough out onto a well-floured work surface.
- Divide dough into 2 equal parts. Roll the rough out to about 4 inches wide and 20 inches long. Take one end of the long side of the dough, and begin to tightly roll inwards, like a cinnamon roll. Tuck the edges of the dough under so it is roughly the same size as the loaf pan. Place the rolled dough in loaf pan to rest. Repeat with the other piece of dough. Cover, and allow dough to rise in the loaf pans in a warm place for 2 hours or until doubled in size (mine has taken up to 4 hours on colder days).
- Preheat oven to 375 degrees Fahrenheit. Brush the tops of the dough with egg wash (1 egg mixed with 2 tablespoons water) and place in oven to bake for 22 to 28 minutes. Top should be brown, but if it starts to look burnt, then cover with foil and continue to bake.
- Allow loaves to cool on a rack for at least 45 minutes before slicing.
Recipe FAQs
You don’t have to, since the sourdough starter already has natural yeast in it. I do like to add a bit of extra yeast to give the bread a lighter and airier texture.
Yes, you can use either fresh bottled juice, or canned pineapple juice for this recipe. Or use the juice from the bottom of a can of pineapple slices.
Keep leftover bread in an airtight container or wrapped in foil at room temperature for up to 3 days. For longer storage, you can freeze slices of bread and reheat as needed.
Dietary Modifications
- To make this Hawaiian bread vegan: substitute out the eggs, butter, and milk for plant-based varieties. I’ve actually made this bread with almond milk before and it tastes great!
- To make dairy-free: use plant-based milk and butter.
Other Sourdough Discard Recipes We Love!
- Sourdough Bagels Recipe
- Vegan Sourdough Muffins with Blueberries
- Sourdough Garlic Naan Recipe (Vegan, Dairy Free, Egg Free)
- Vegan Sourdough Croutons with Garlic & Herbs
- Sourdough Starter Pizza Crust Recipe
Let’s connect on social!
If you made this recipe, please leave a star rating and let me know how it went in the comments below. I’d love to hear from you!

Our cookbook One Ingredient, Five Ways has tasty no-waste plant-based recipes for everyone!

Sourdough Hawaiian Bread
Ingredients
- 1 cup sourdough starter unfed
- 4 1/2 to 5 cups flour plus extra for sprinkling
- 2/3 cup sugar
- 2 teaspoons Sea Salt
- 2 1/4 teaspoons 1 packet active yeast
- 1/4 cup pineapple juice
- 1/4 cup milk
- 2 tablespoons melted butter
- 1 egg
- 1 cup warm water
- Egg wash 1 egg mixed with 2 tablespoons cold water
Instructions
- In a large mixing bowl, add the sourdough starter, flour (start with 4 1/2 cups), sugar, active yeast, and salt. Mix well to combine, and make a well in the center of the flour mixture.
- Add melted butter, milk, pineapple juice, and egg to a bowl, scramble well with a fork until combined. Add the egg mixture to the center of the flour well. Pour the warm water over the egg mixture. With a large spoon, mix well to combine all ingredients into a dough. Dough should be sticky and thick. If your dough is sticking to the sides of the bowl, add the remaining 1/2 cup flour.
- Cover with plastic wrap and place bowl in the refrigerator overnight (8 to 12 hours).
- The next morning, grease 2 8×4 loaf pans. Turn dough out onto a well-floured work surface.
- Divide dough into 2 equal parts. Roll the rough out to about 4 inches wide and 20 inches long. Take one end of the long side of the dough, and begin to tightly roll inwards, like a cinnamon roll. Tuck the edges of the dough under so it is roughly the same size as the loaf pan. Place the rolled dough in loaf pan to rest. Repeat with the other piece of dough. Cover, and allow dough to rise in the loaf pans in a warm place for 2 hours or until doubled in size (mine has taken up to 4 hours on colder days).
- Preheat oven to 375 degrees Fahrenheit. Brush the tops of the dough with egg wash (1 egg mixed with 2 tablespoons water) and place in oven to bake for 22 to 28 minutes. Top should be brown, but if it starts to look burnt, then cover with foil and continue to bake.
- Allow loaves to cool on a rack for at least 45 minutes before slicing.
Nutrition
This post may contain affiliate links. I may earn from qualifying purchases from affiliate programs, at no additional cost to you. Please read our privacy policy for more information.




How can cinnamon and butter be added to the loaves
Hi David, you can add them in with the dough, or make a compound butter with cinnamon and room-temperature butter and spread it on the bread once it’s done! If you try it, please let us know! – Kelly
Why would you add a packet of yeast? That defeats the purpose of the starter and imo is no longer a sourdough bread, but rather a hybrid bread. The yeast in the packets is what i want to get away from. I used to make a hawwain loaf, and looking for a true sourdough version.
This is the most delicious light sandwich bread. My kids can’t get enough of it!
I’ve made this many times now. My family expects this instead of store bought now. I’m so glad. I am making some for Christmas and am wondering… can I place on the counter instead of fridge to speed up the process a little or is the fridge a must?
Delicious. Who knew I could make my own bread
So i made thid dough this mornin and put it in the fridge. It is late afternoon and had fully risen.should I punch down, roll, place in pans, and let rise on the counter and bake?
Hi Lynda – great question! Yes, if the dough is fully risen you can continue to the countertop rise step. Please let us know how it turns out!
– Kelly
I love this recipe. The flavor is on point. I like to bake two loaves, one for sharing, but for a sandwich loaf I think I will try one pan. What I love about it us not having to pull out my Kitchenaid, and not having to kneed with the hook or stretch and fold, lol. Also, using the yeast boost the whole process is a lot faster!
Could you please post the measurements in g next to the ingredients? I’ve seen several people ask. I’ve made this a few times and my loaves are not as consistent with the volume measurements.
It turned out great and delicious! I would potentially try to scale it to just make one loaf instead of two smaller loaves, as mine aren’t very tall for normal sized sandwiches. It would also be nice to have grams listed on the side.
Can it be made with Rapid Rise yeast?
I just took this out of the oven, but the bottom wasn’t quite done so I put it back in the oven without the pan. Smells amazing! Did find the dough to be very sticky (didn’t flour my surface first). I also baked at 350 degrees for 35-40 min. Four stars for dough being really sticky. Can’t wait for it to cool so I can cut into it.
Best tasting bread I’ve made yet! But I’m not getting any rise in the oven. Any suggestions?
Could I make these into boules instead of in loaf pans?
This is by far my kids favorite bread. Is it possible to use active starter and skip the added active yeast?
Hi Amanda – thank you so much for the review! Yes you can use an active starter and skip the yeast, however it may not rise as much (it would depend on your starter). If you try it without yeast, please let me know how it turns out.
– Kelly
Made this recipe the other day and my loaves came out PERFECT. I don’t use that word often. This will become a weekly staple in my house.
This looks delicious! Would you happen to have this recipe by weight?
Please can you add how much a cup is in Lbs and Ounces (Lbs & Oz) for those of us in Great Britain. Many thanks 🙂