Sourdough Starter 101: A 7-Day Guide To Your First Loaf
This Sourdough Starter 101 is simple guide to take you through the exact steps to follow to bake your first loaf of sourdough bread in 1 week. No confusing steps, no pretentious language, super easy to follow! You’re 7 days away from baking your first loaf with just flour and water.
There are tons of guides out there on how to make your own sourdough, but here is an easy step by step. I found other guides all to be complicated, pretentious, and difficult to understand for beginner bakers – here is a great guide for the basics!
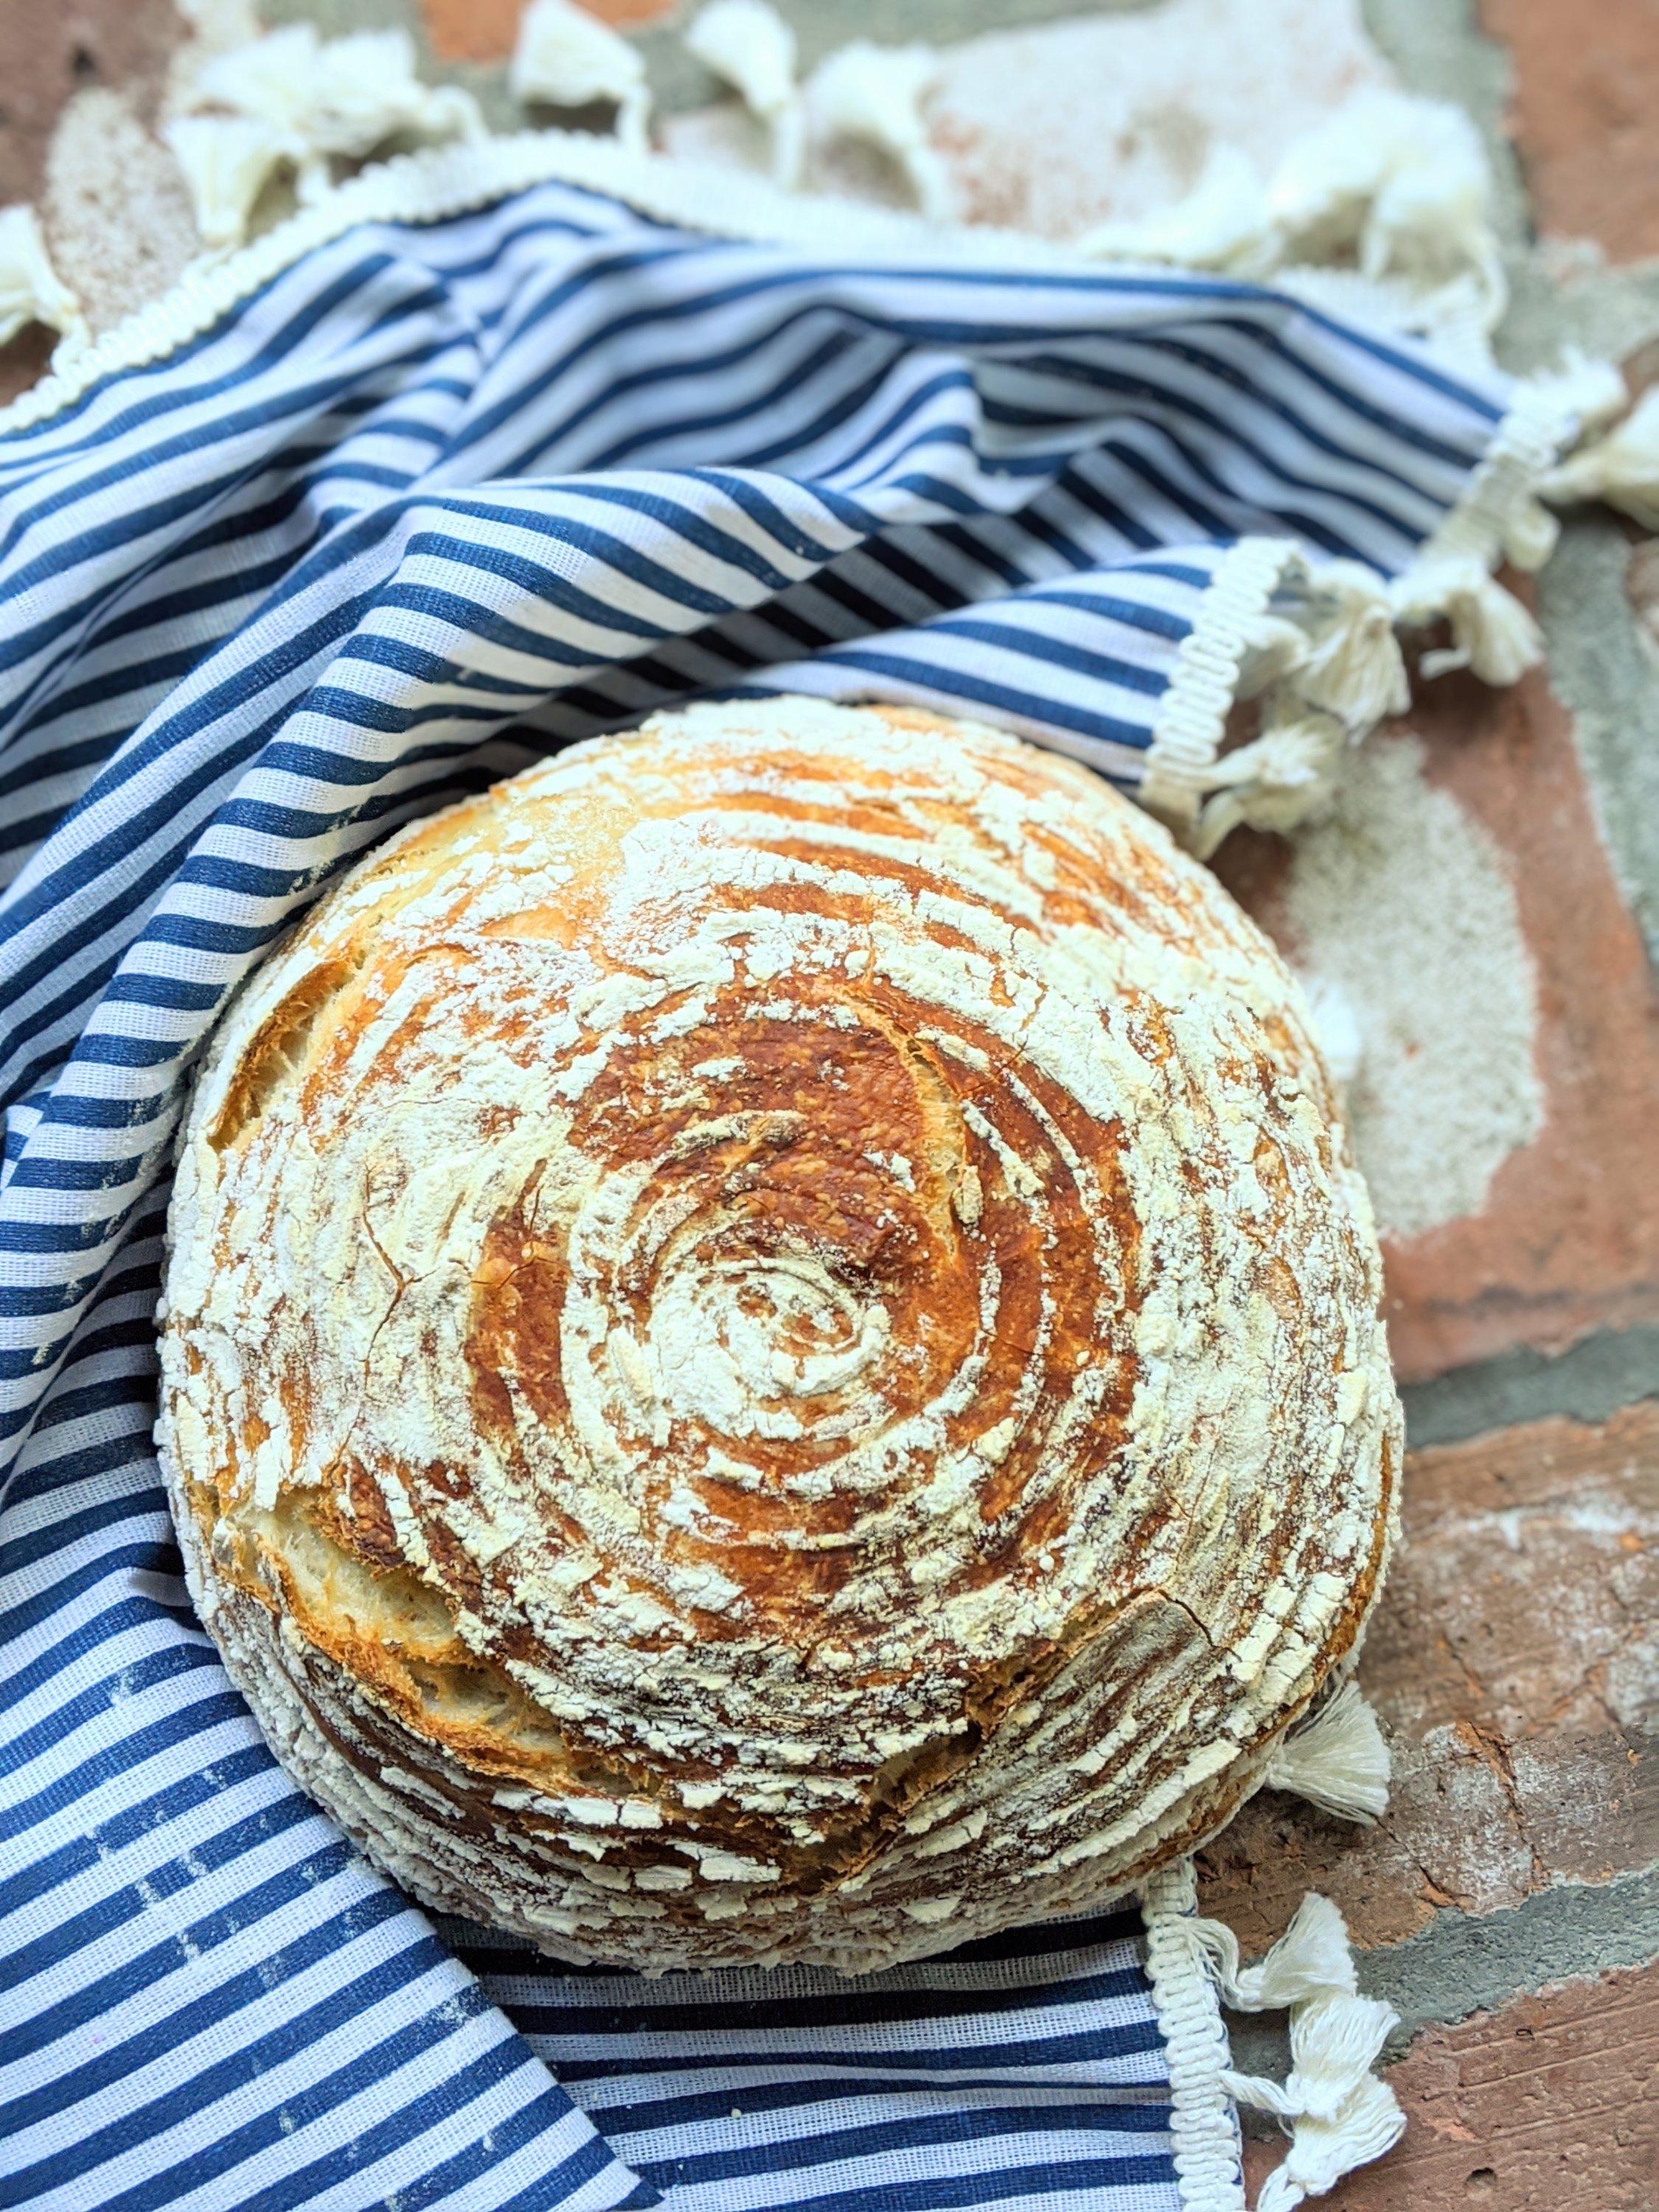
Sourdough Ingredients You Will Need
Let’s start with the basics: your ingredients. Below are recommendations that I use, but you can use any that are available to you.
What makes plant-based cooking easier for me is keeping whole ingredients on hand: beans, lentils & grains, and lots of fresh produce. I order many of those from Misfits Market, which focuses on reducing food waste! Get $25 off your first order if you’d like to try it.
- All Purpose Flour: I normally use all purpose flour for all my baking recipes. It’s a very consistent flour and I found that after years of baking sourdough, it produces an excellent bread.
- Water: I used filtered tap water, but use whatever you would normally drink.
- A large bowl: with an airtight lid. I use batter bowls with the lids. I’ve kept my sourdough starter in one for a whole year, and use another one of these batter bowls for mixing and proofing my dough overnight.
Sourdough Equipment
- A kitchen scale: Yes, you do have to measure by weight. I’m all about free-form cooking usually, but measuring by weight is really the one step you should comply with to make sure you’re doing it right. This scale is actually pretty inexpensive, so I’d recommend investing in one if you don’t have it already… mine comes in handy for lots of recipes that measure by weight.
- Banneton Proofing Bowl: I use this really nice banneton proofing bowl to give my loaves that nice thumbprint swirl on top. Remember, presentation is everything, and I really love my Banneton bowls because they make my bread look super professional and artisanal.
DAY 1: Starting your Sourdough
Its an exciting day – the beginning!
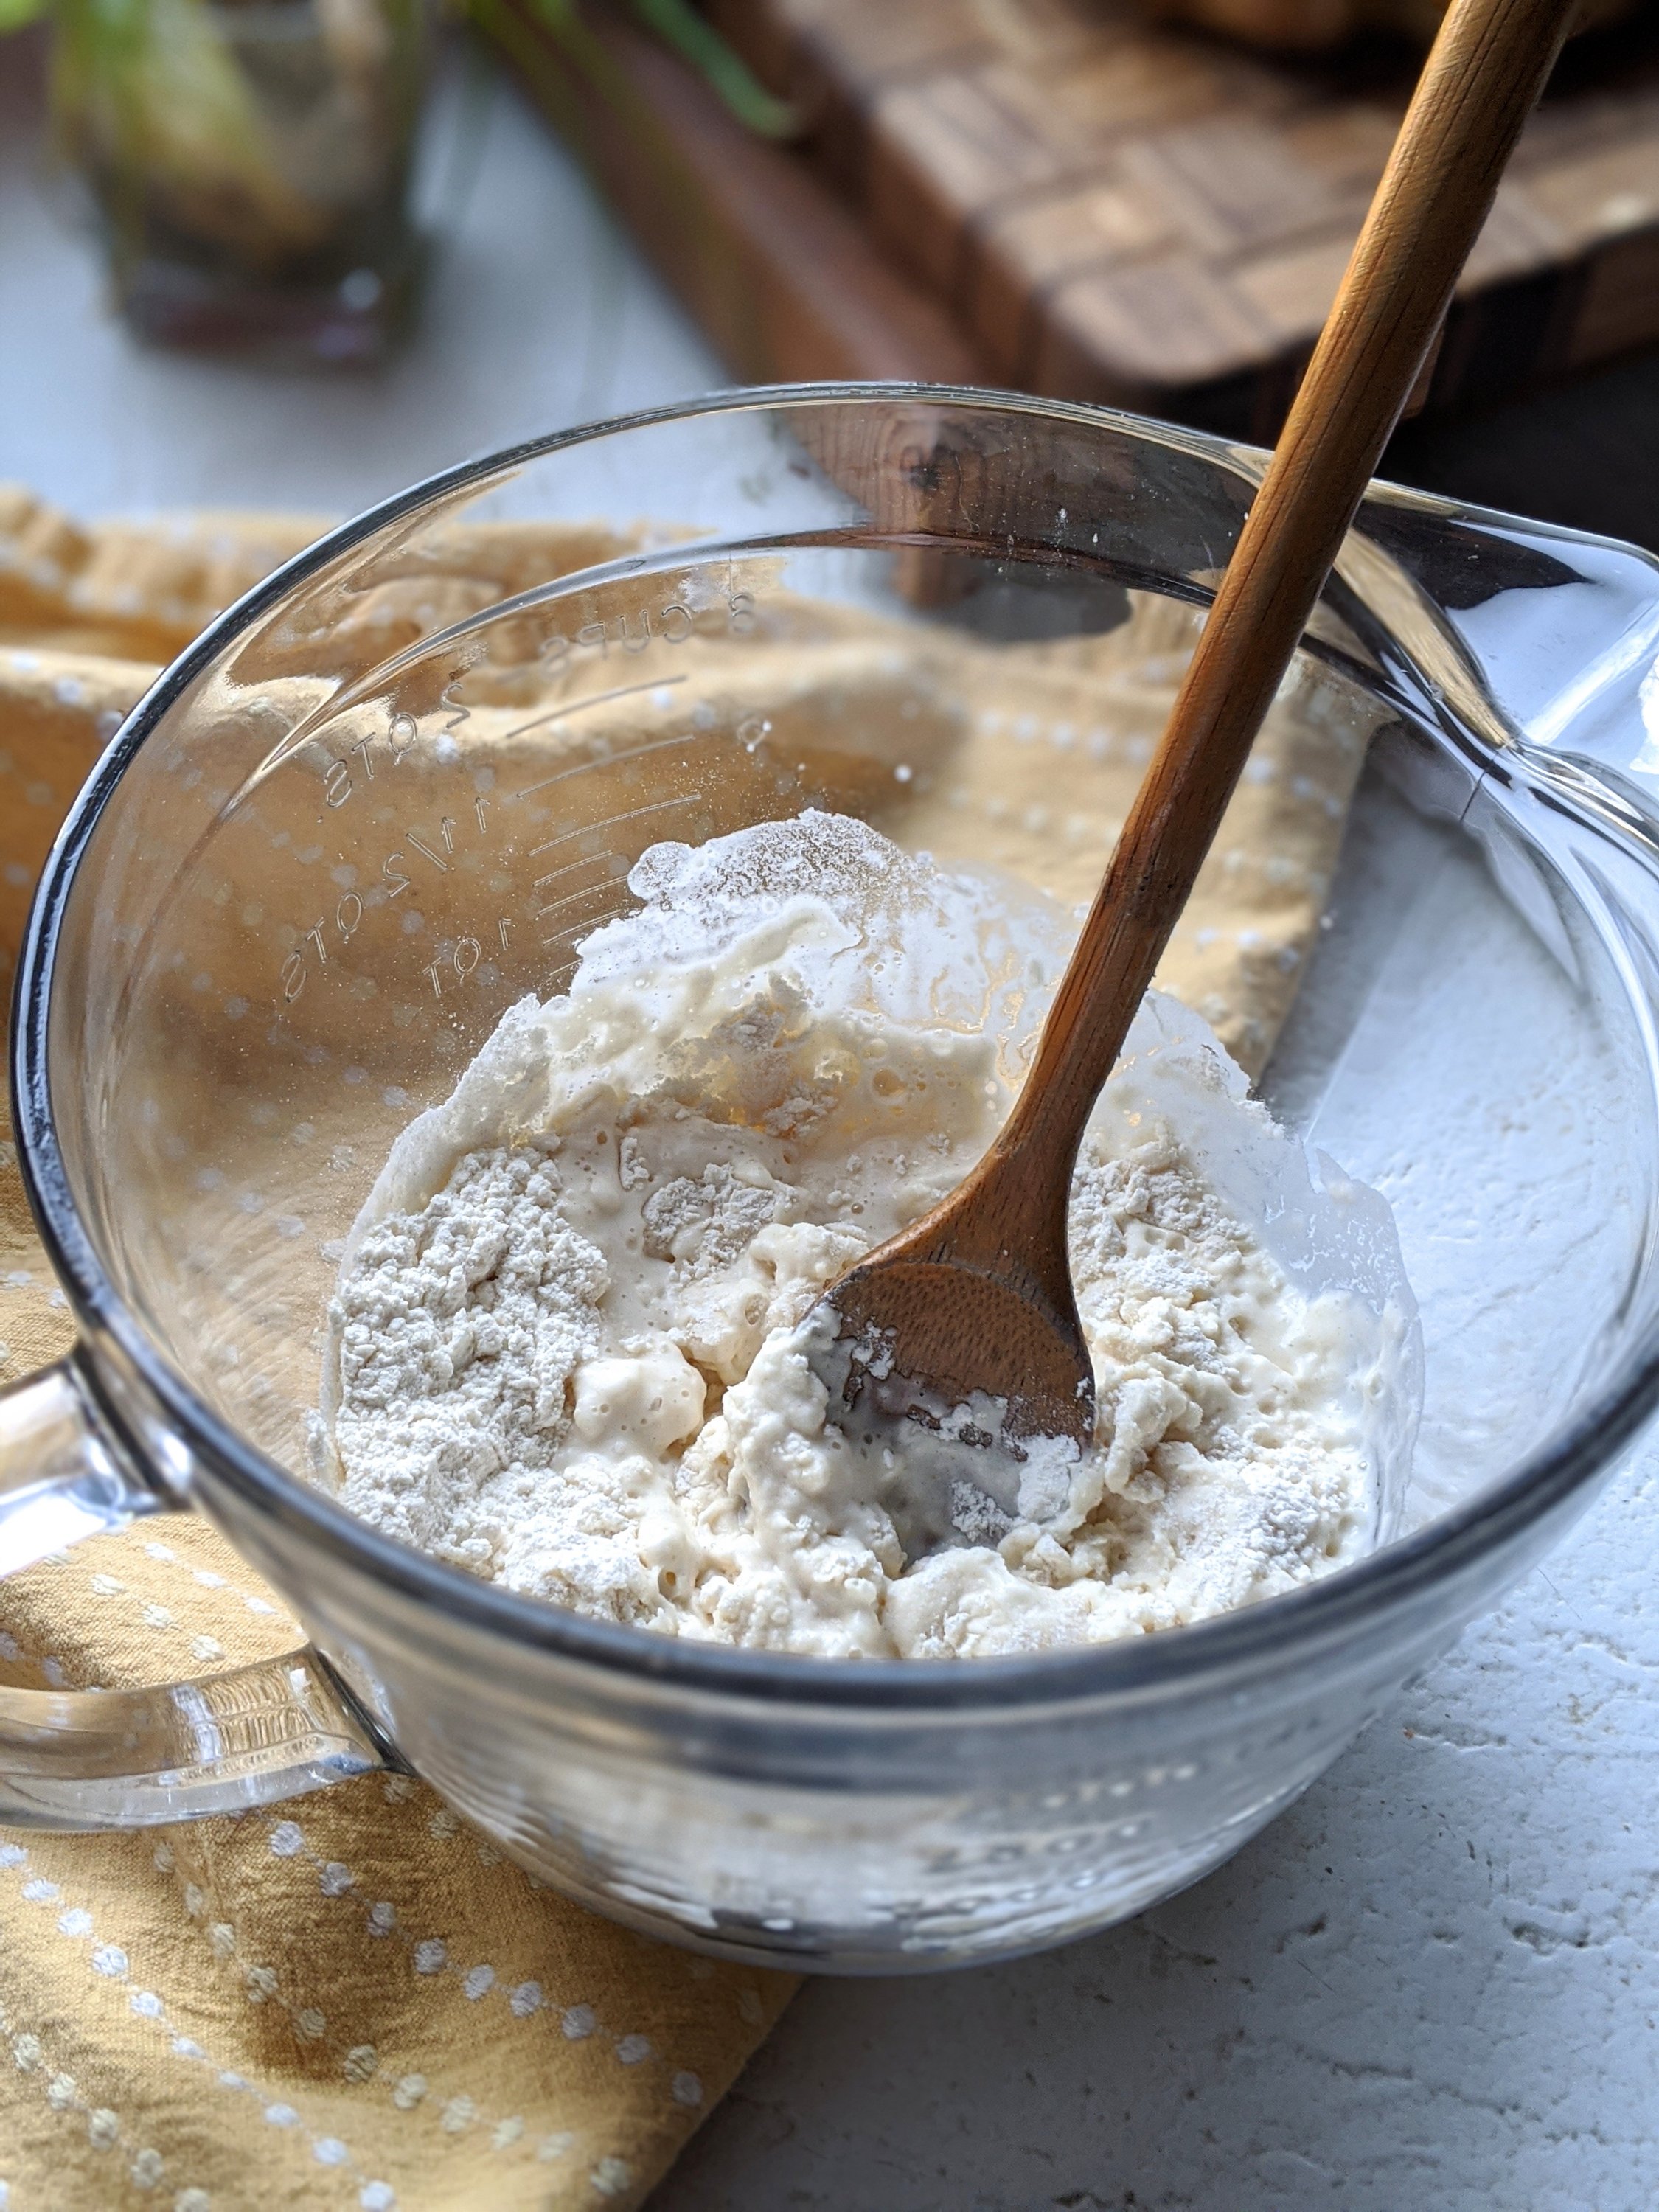
- In your large bowl, measure out 113 grams flour, and 113 grams water.
- Stir well to combine.
- Set the bowl on a cutting board, and loosely place the lid on the top of the bowl. Make sure there is air flow going to the dough. Don’t cover so it makes an airtight seal.
- Name your sourdough starter. Mine’s name is Joe Don Baker because I think we watched MST3K Mitchell episode that day and he is our favorite dough-y actor.
- Allow the starter to sit overnight.
DAY 2: The First Sourdough Feeding
This is how you ‘Feed’ the dough, you’ll be repeating these steps for the next few days. Make sure you feed around the same time of day, each day.
- Place your starter on the scale, and discard all but 113 grams of the starter. (See Recipes for Sourdough Starter for ideas on what to do with the discarded dough so it doesn’t go to waste!)
- In your large bowl, measure out 113 grams flour, and 113 grams water.
- Stir well to combine.
- Set the bowl on a cutting board, and loosely place the lid on the top of the bowl. Make sure there is air flow going to the dough. Don’t cover so it makes an airtight seal.
- Allow the starter to sit overnight.
DAY 3: Feed Again
Same as yesterday! Feed dough as normal.
- Place your starter on the scale, and discard all but 113 grams of the starter.
- In your large bowl, measure out 113 grams flour, and 113 grams water.
- Stir well to combine.
- Set the bowl on a cutting board, and loosely place the lid on the top of the bowl. Make sure there is air flow going to the dough. Don’t cover so it makes an airtight seal.
- Allow the starter to sit overnight.
DAY 4: Feed Again
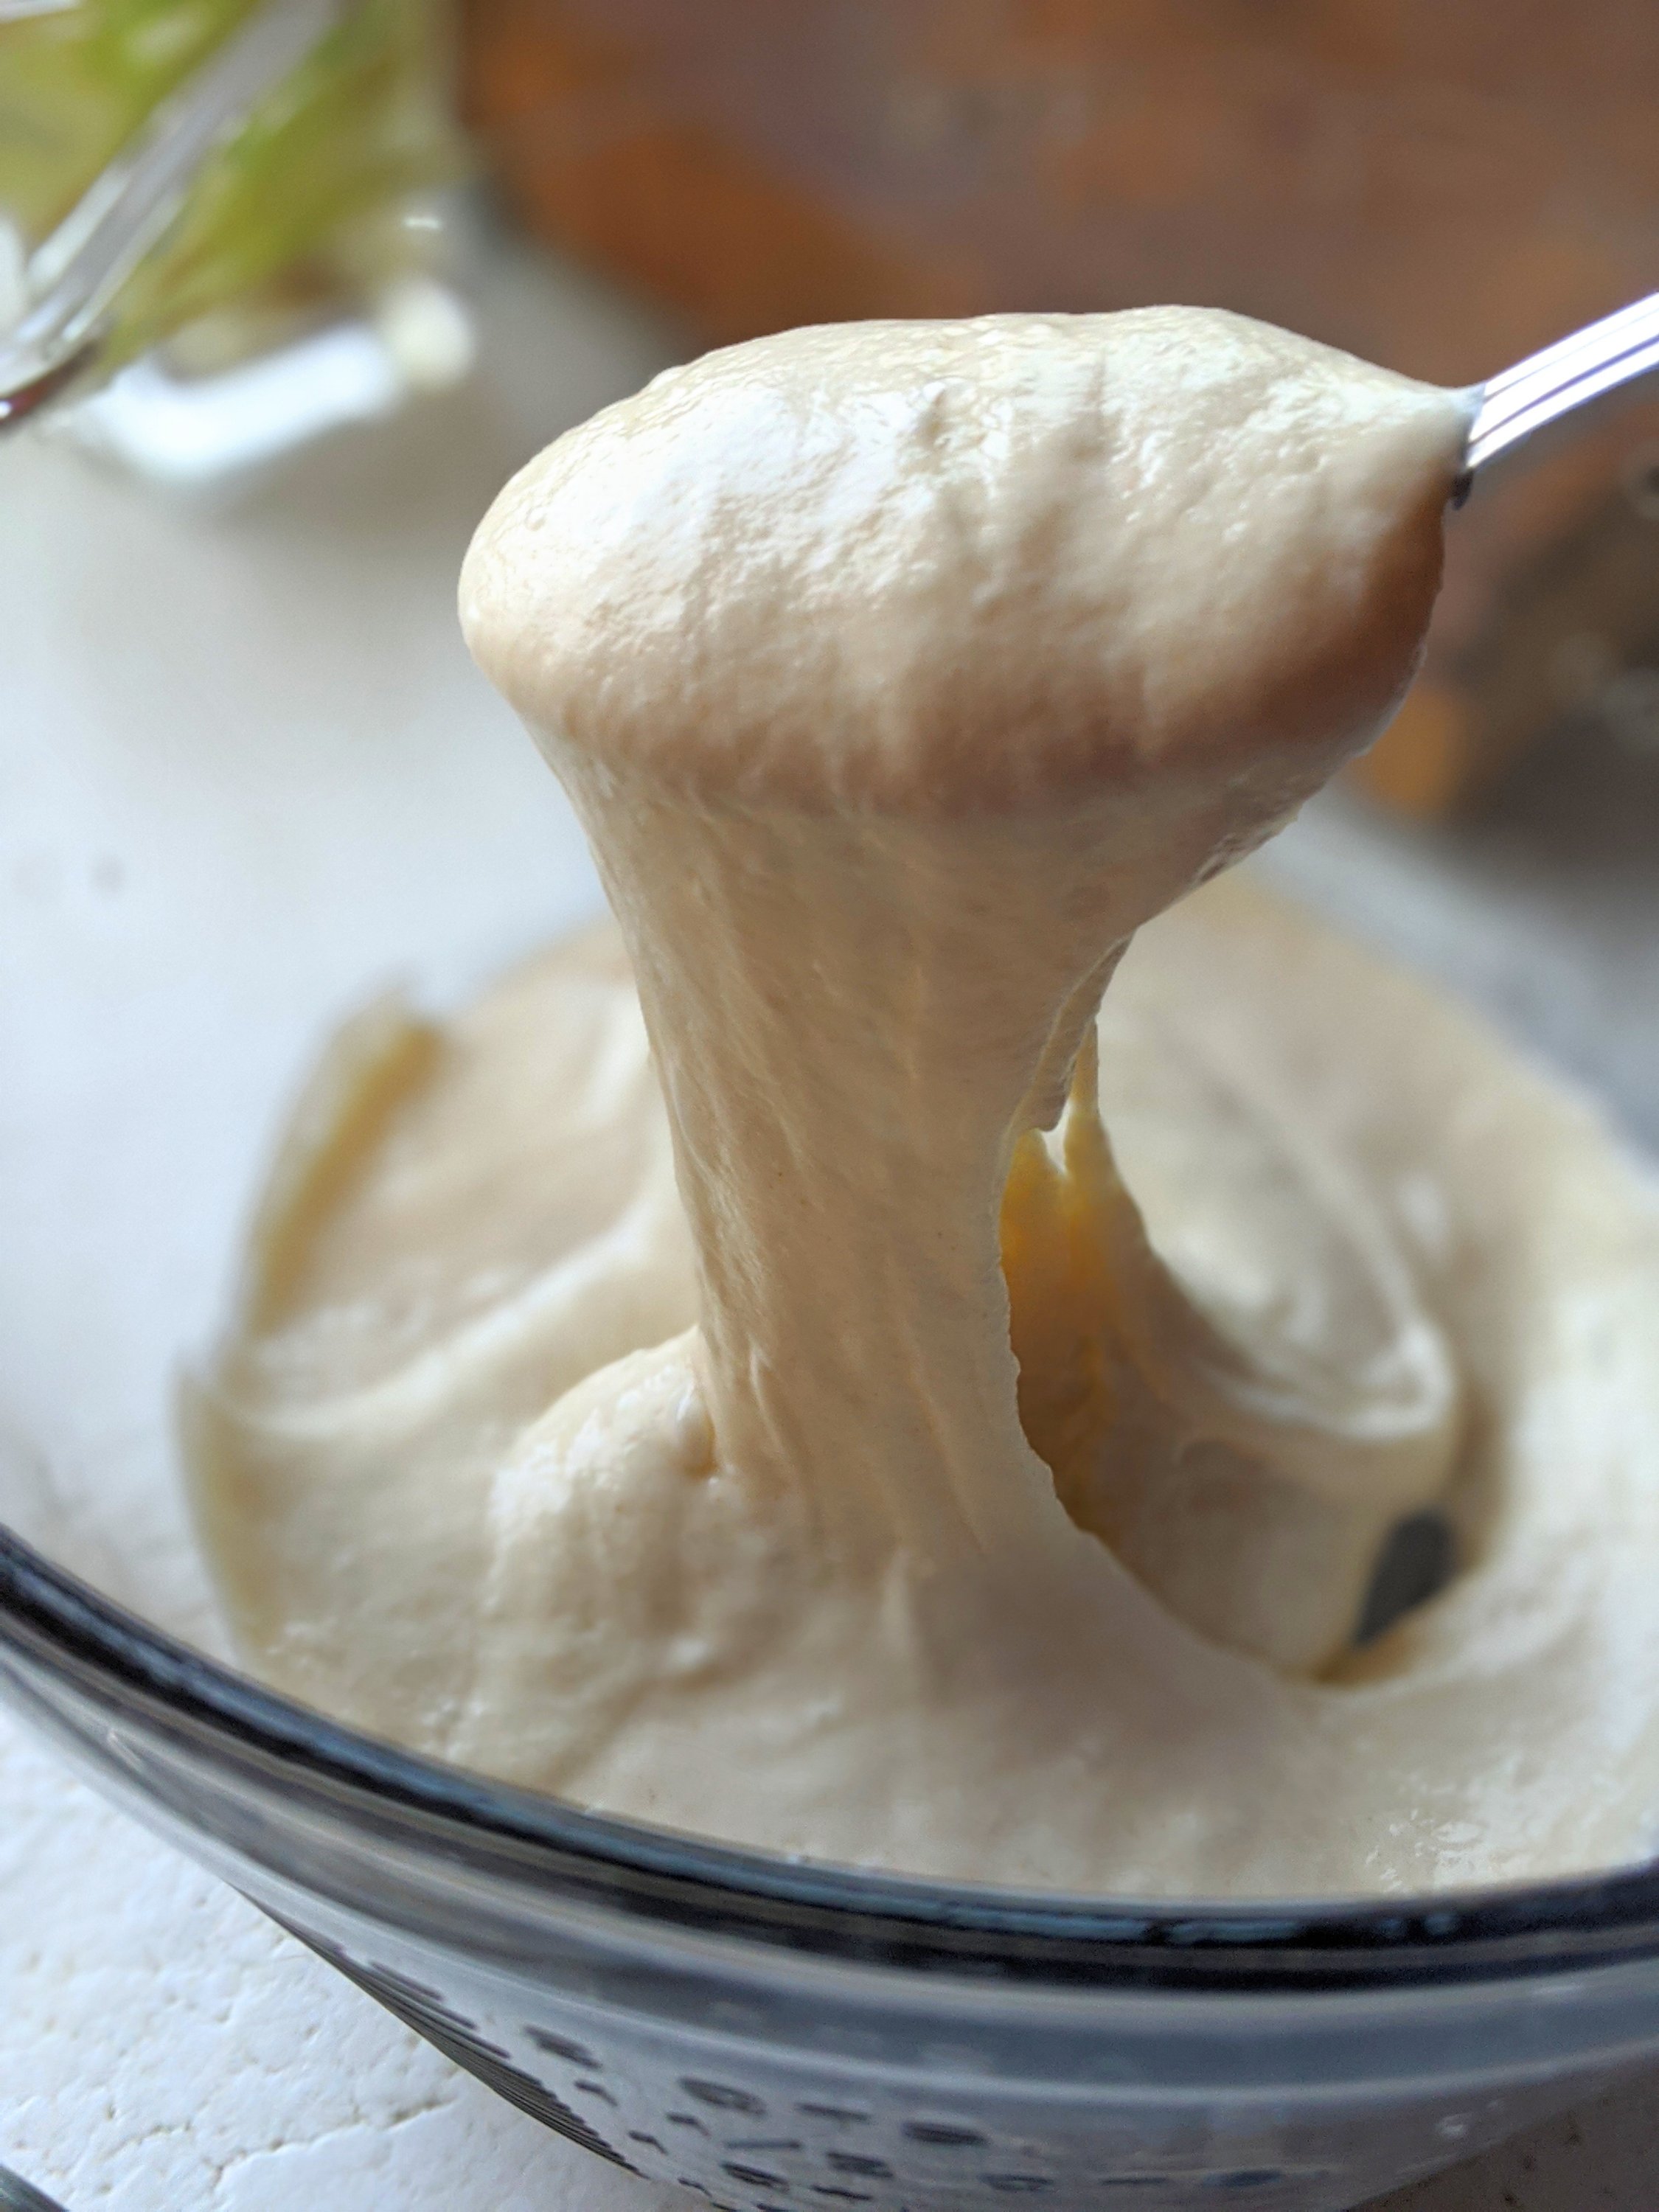
Your Sourdough should become more stringy as the strands of gluten develop. Little bubbles should appear on the top of the starter. Feeding again, as normal.
- Place your starter on the scale, and discard all but 113 grams of the starter.
- In your large bowl, measure out 113 grams flour, and 113 grams water.
- Stir well to combine.
- Set the bowl on a cutting board, and loosely place the lid on the top of the bowl. Make sure there is air flow going to the dough. Don’t cover so it makes an airtight seal.
- Allow the starter to sit overnight.
DAY 5: Feed Twice a Day Now
Your sourdough starter should be fed twice a day now. I did mine about 12 hours apart, once in the morning and once at night.
- Place your starter on the scale, and discard all but 113 grams of the starter.
- In your large bowl, measure out 113 grams flour, and 113 grams water.
- Stir well to combine.
- Set the bowl on a cutting board, and loosely place the lid on the top of the bowl. Make sure there is air flow going to the dough. Don’t cover so it makes an airtight seal.
- Wait 12 hours
- Place your starter on the scale, and discard all but 113 grams of the starter.
- In your large bowl, measure out 113 grams flour, and 113 grams water.
- Stir well to combine.
- Set the bowl on a cutting board, and loosely place the lid on the top of the bowl. Make sure there is air flow going to the dough. Don’t cover so it makes an airtight seal.
- Allow the starter to sit overnight.
DAY 6: Double Feeding Again
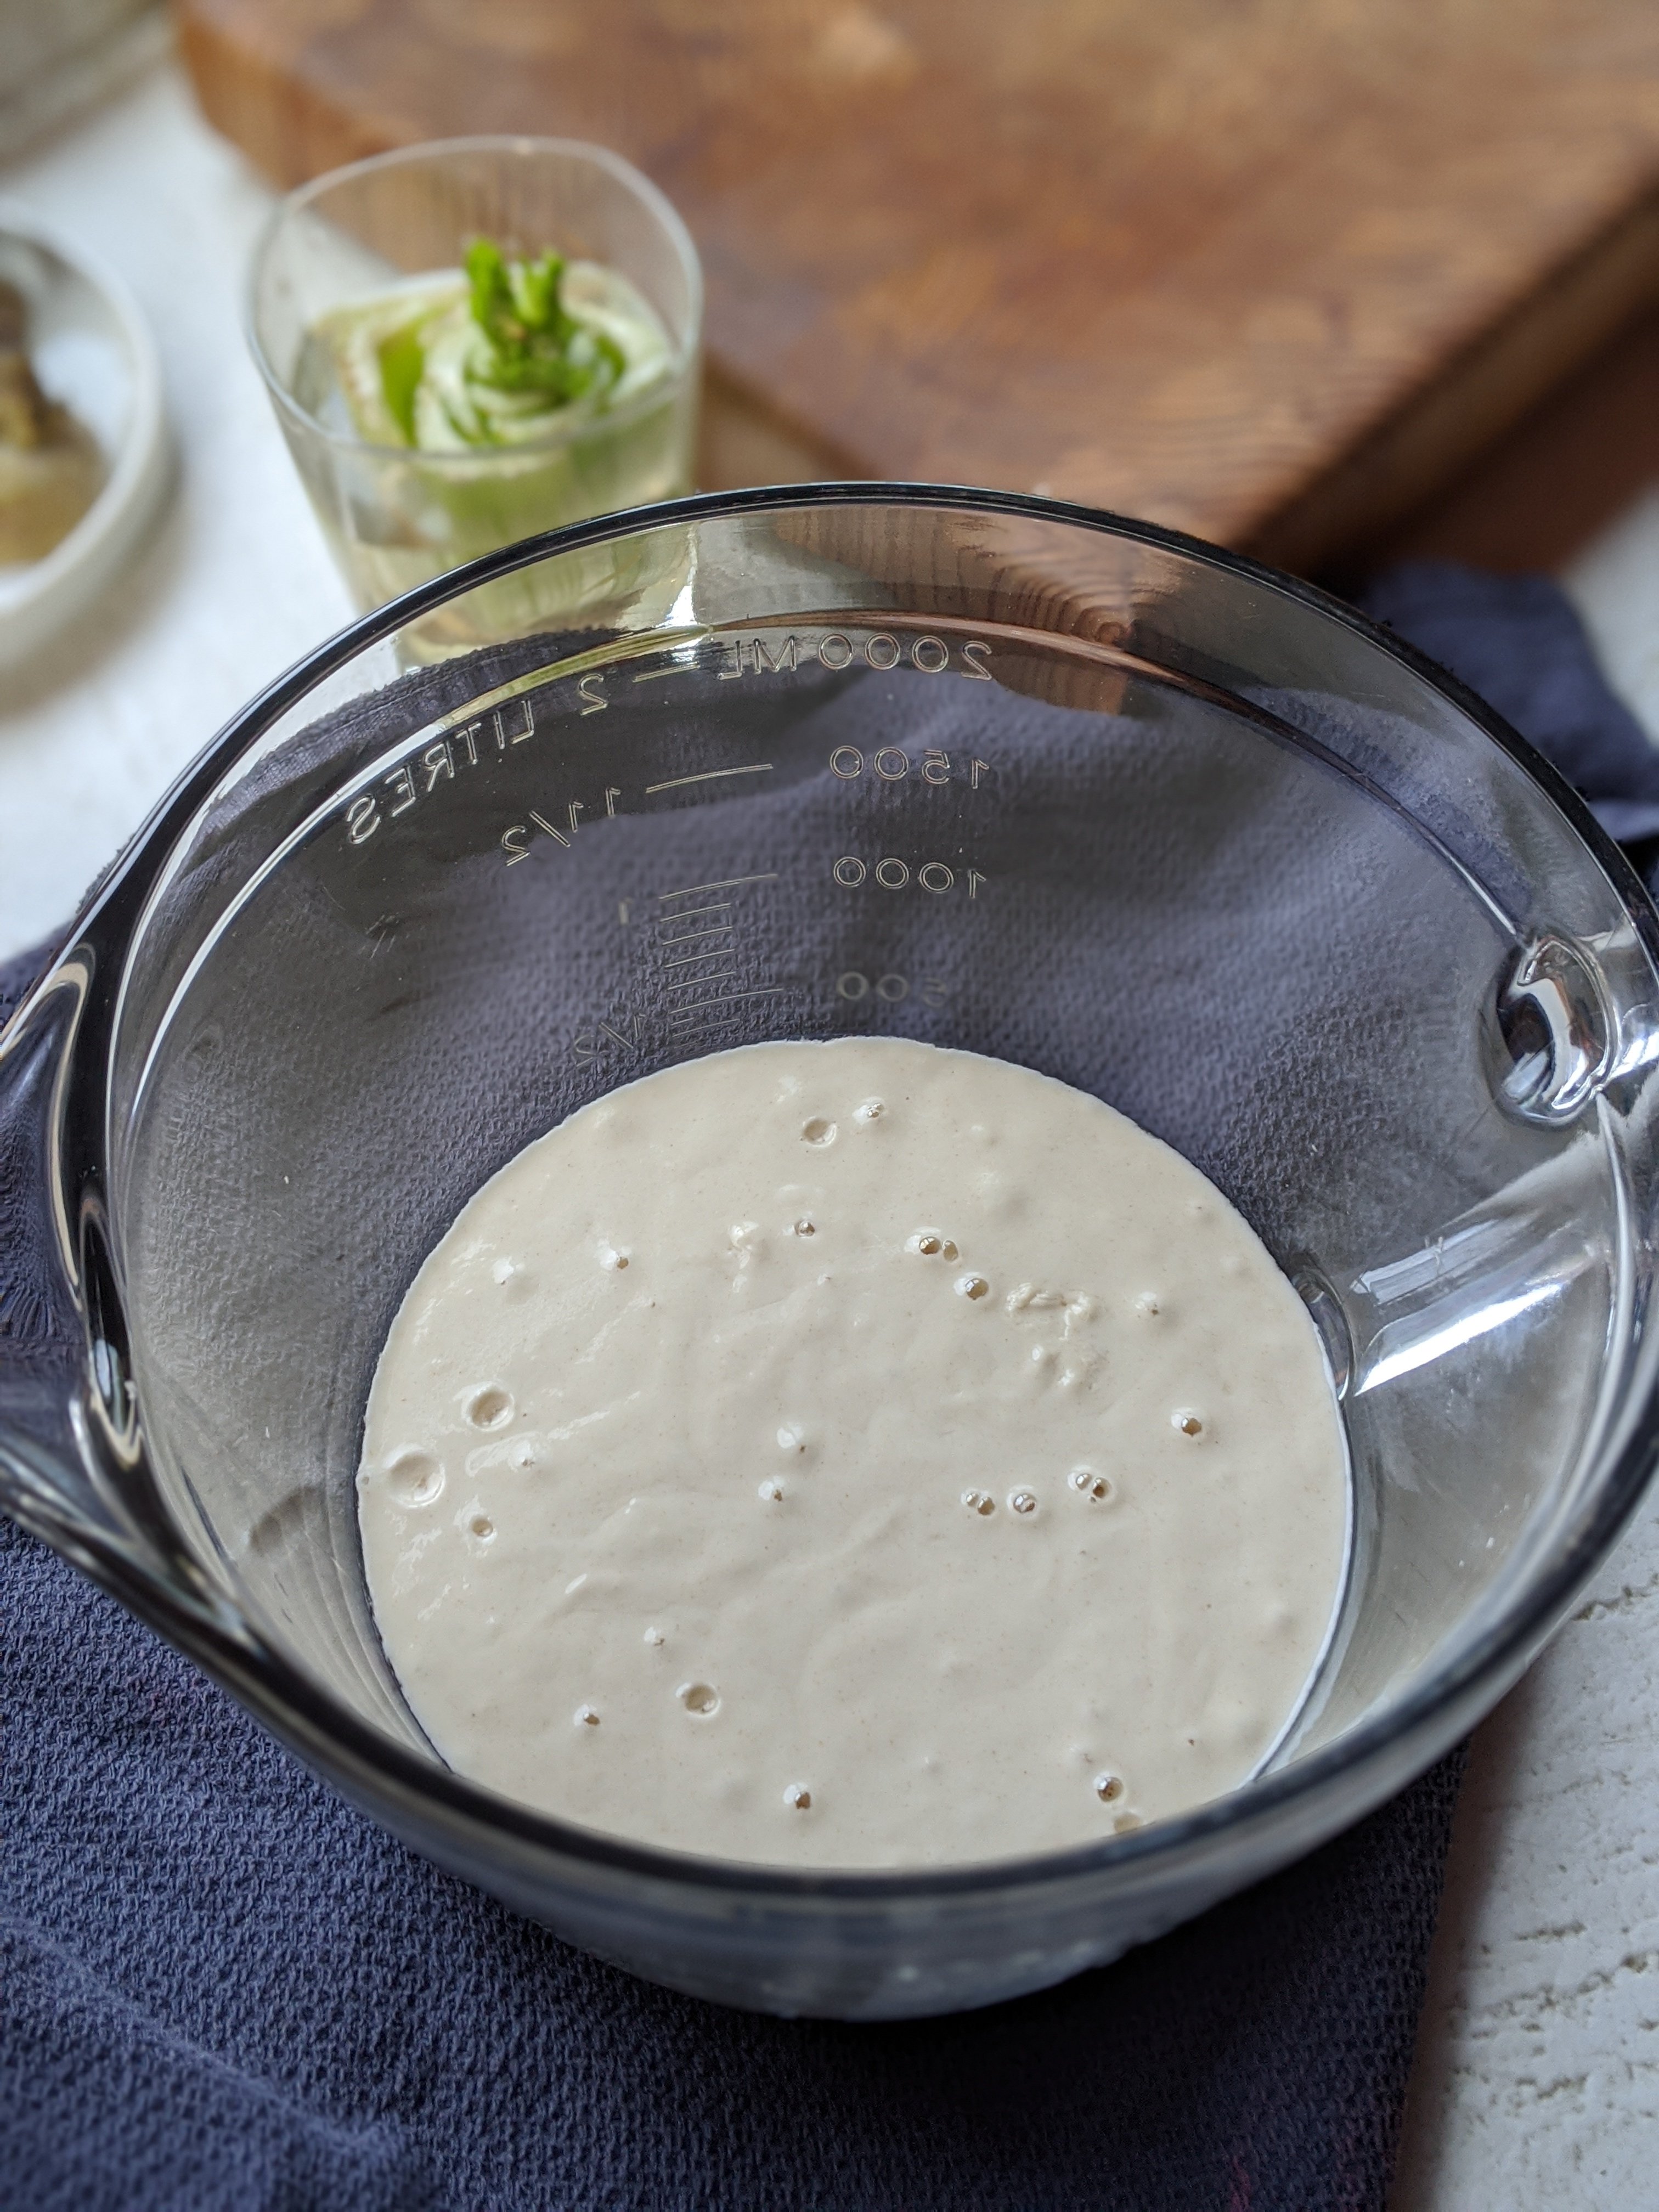
As with Day 5, feed the starter twice in a day, once in the morning and once at night. The starter will have more bubbles when you open the lid to feed. You’ll notice that it has a nice earthy slightly tangy smell as well.
- Place your starter on the scale, and discard all but 113 grams of the starter.
- In your large bowl, measure out 113 grams flour, and 113 grams water.
- Stir well to combine.
- Set the bowl on a cutting board, and loosely place the lid on the top of the bowl. Make sure there is air flow going to the dough. Don’t cover so it makes an airtight seal.
Get your Dough Ready!
- Wait ~12 hours
- Place your starter on the scale, and discard all but 113 grams of the starter.
- In your large bowl, measure out 113 grams flour, and 113 grams water.
- Stir well to combine.
- Set the bowl on a cutting board, and loosely place the lid on the top of the bowl. Make sure there is air flow going to the dough. Don’t cover so it makes an airtight seal.
- Allow the starter to sit overnight.
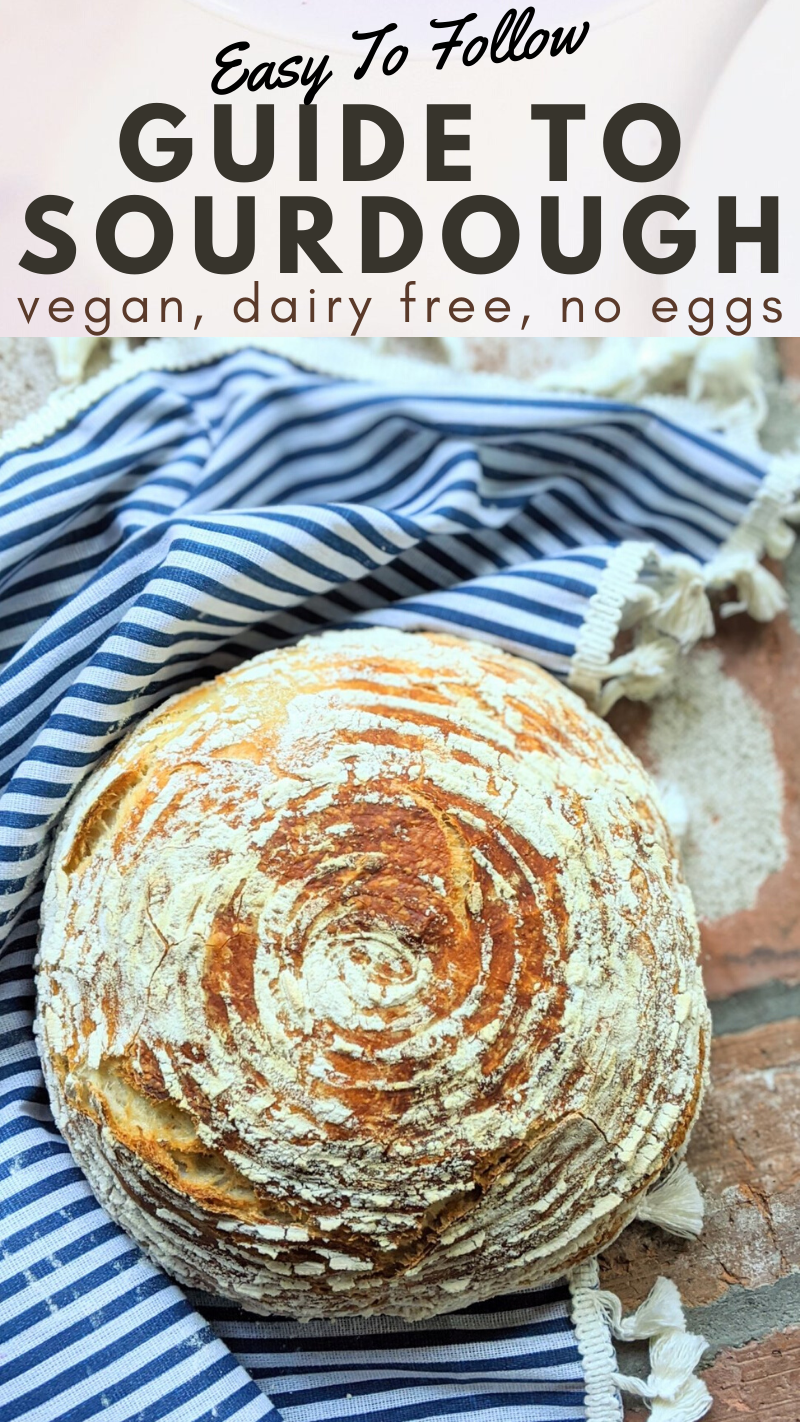
DAY 7: Ready to Bake!
Yes, you’ve done it, you’ve passed sourdough starter 101! You’re ready to make your first loaf of sourdough bread. I’m so proud of you. Let’s bake!
This process can take a while as the bread needs to rise, so please read through the whole recipe before diving in. I like to mix my dough at night, let it rise overnight, then do the second rise the next day. That way you have a nice overnight loaf that can rise while you sleep.
- Feed your sourdough starter as normal, and refrigerate.
- Place your starter on the scale, and remove 1 cup of sourdough starter, and place in a separate bowl to make the dough.
- In your starter bowl, measure out 113 grams flour, and 113 grams water.
- Stir well to combine.
- Set the bowl on a cutting board, and loosely place the lid on the top of the bowl. Make sure there is air flow going to the dough. Don’t cover so it makes an airtight seal, and allow to rise for 4 hours.
- After the starter has been fed, seal the airtight lid on the dough, and refrigerate the starter. Now you don’t have to do daily feedings, only once a week or whenever you bake bread.
I love using sourdough bread in my favorite sourdough panzanella salad recipe.
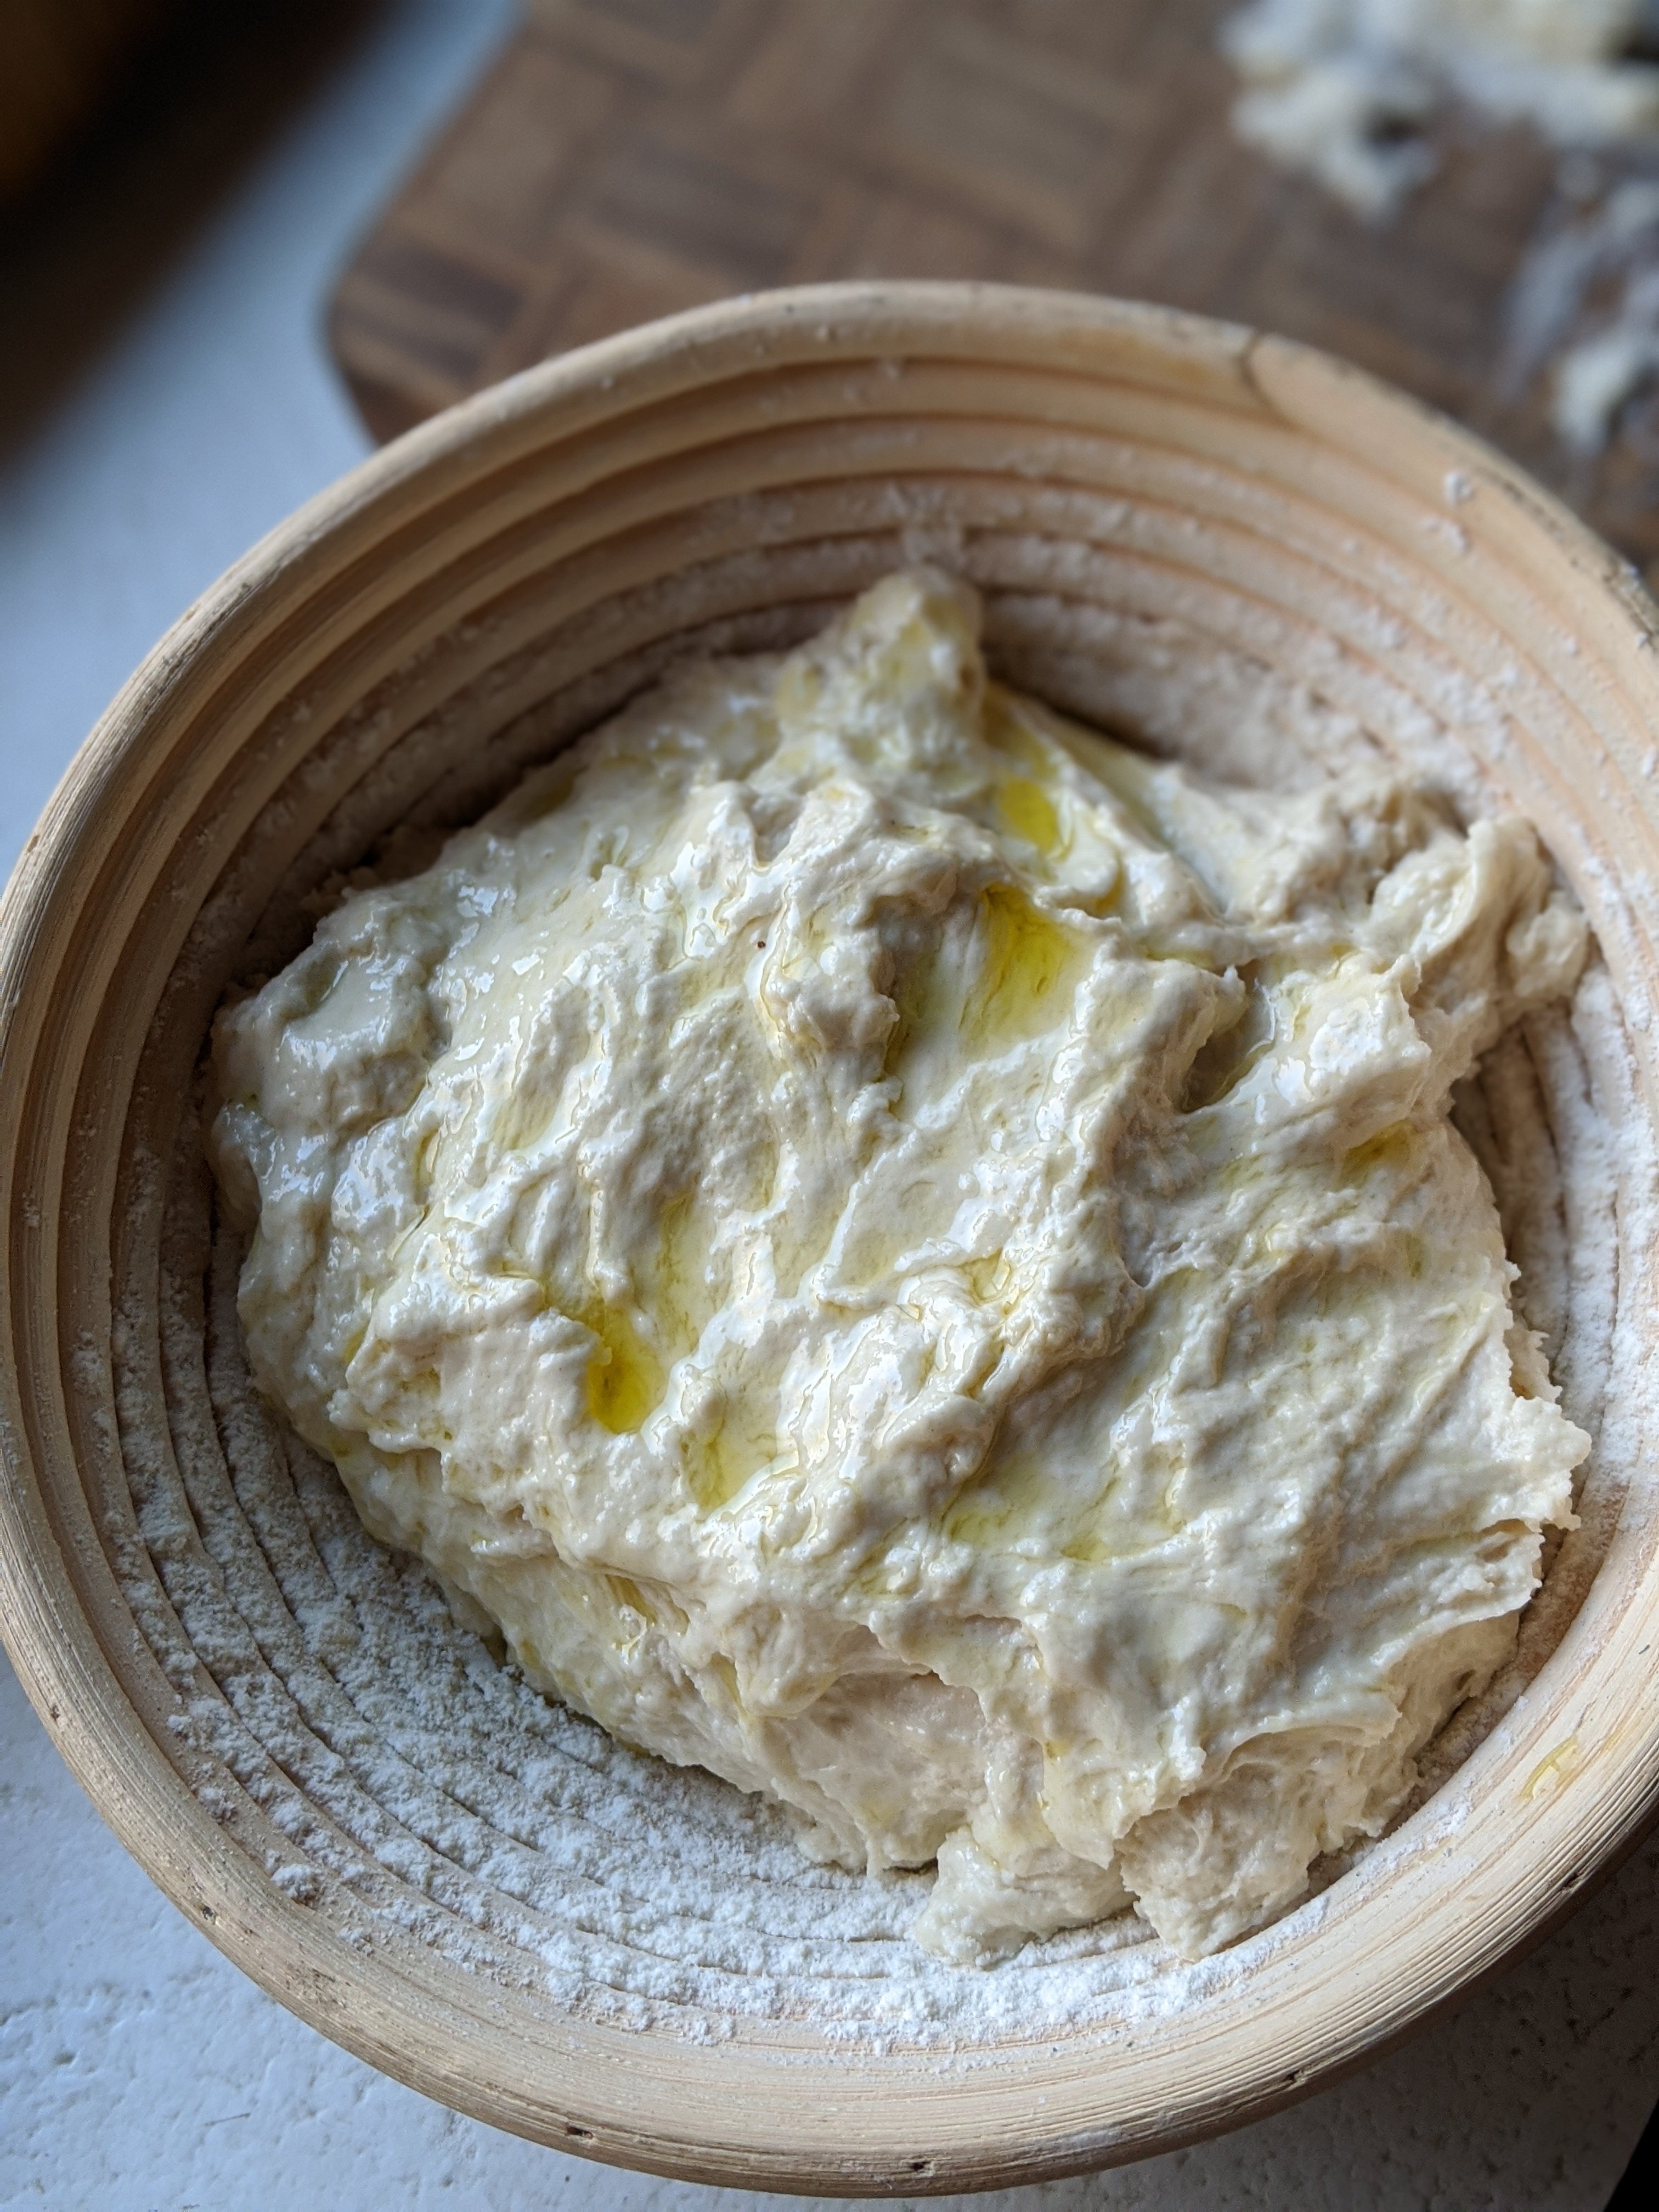
Mix the Sourdough
Your guide to sourdough is almost complete. I like to do this step the night before, then bake the next morning as it required about 14 hours total to rise. What you’ll need for baking: your sourdough starter, a Dutch oven (or heavy lidded pot that can be put in the oven), and another large mixing bowl.
- To your 1 cup of starter, add 3 cups flour, 1 cup water, and 1 teaspoon salt. Mix well to combine.
- On a floured cutting board, knead the sourdough for 10-15 minutes until the gluten begins to develop in the dough. Work it.
- Cover the bowl with a tea towel, and allow dough to rise for about 12 hours.
- Once the dough has risen, knead the dough again and set in a floured bowl (I use lovely bamboo Banneton bowls which give the dough that nice swirl on top) for the second rise. Coat top with 1 tablespoon of olive oil to keep tea towel from sticking. Cover with tea towel, and allow dough to rise again for another 2 hours.
- TIME TO BAKE! Preheat the oven to 450 degrees Fahrenheit. Place the Dutch oven in the oven while its heating up, so it is nice and hot when you are ready to add the dough.
- Once oven reaches 450, carefully remove the Dutch oven, and place loaf of bread in the Dutch oven. Bake with the Dutch oven lid ON for 30 minutes.
- After 30 minutes, remove the Dutch oven lid and cook uncovered for 10-15 minutes until the top becomes nice and brown.
- Carefully remove the pot from the oven, place bread on a cooling rack, and allow to cool for 20 minutes.
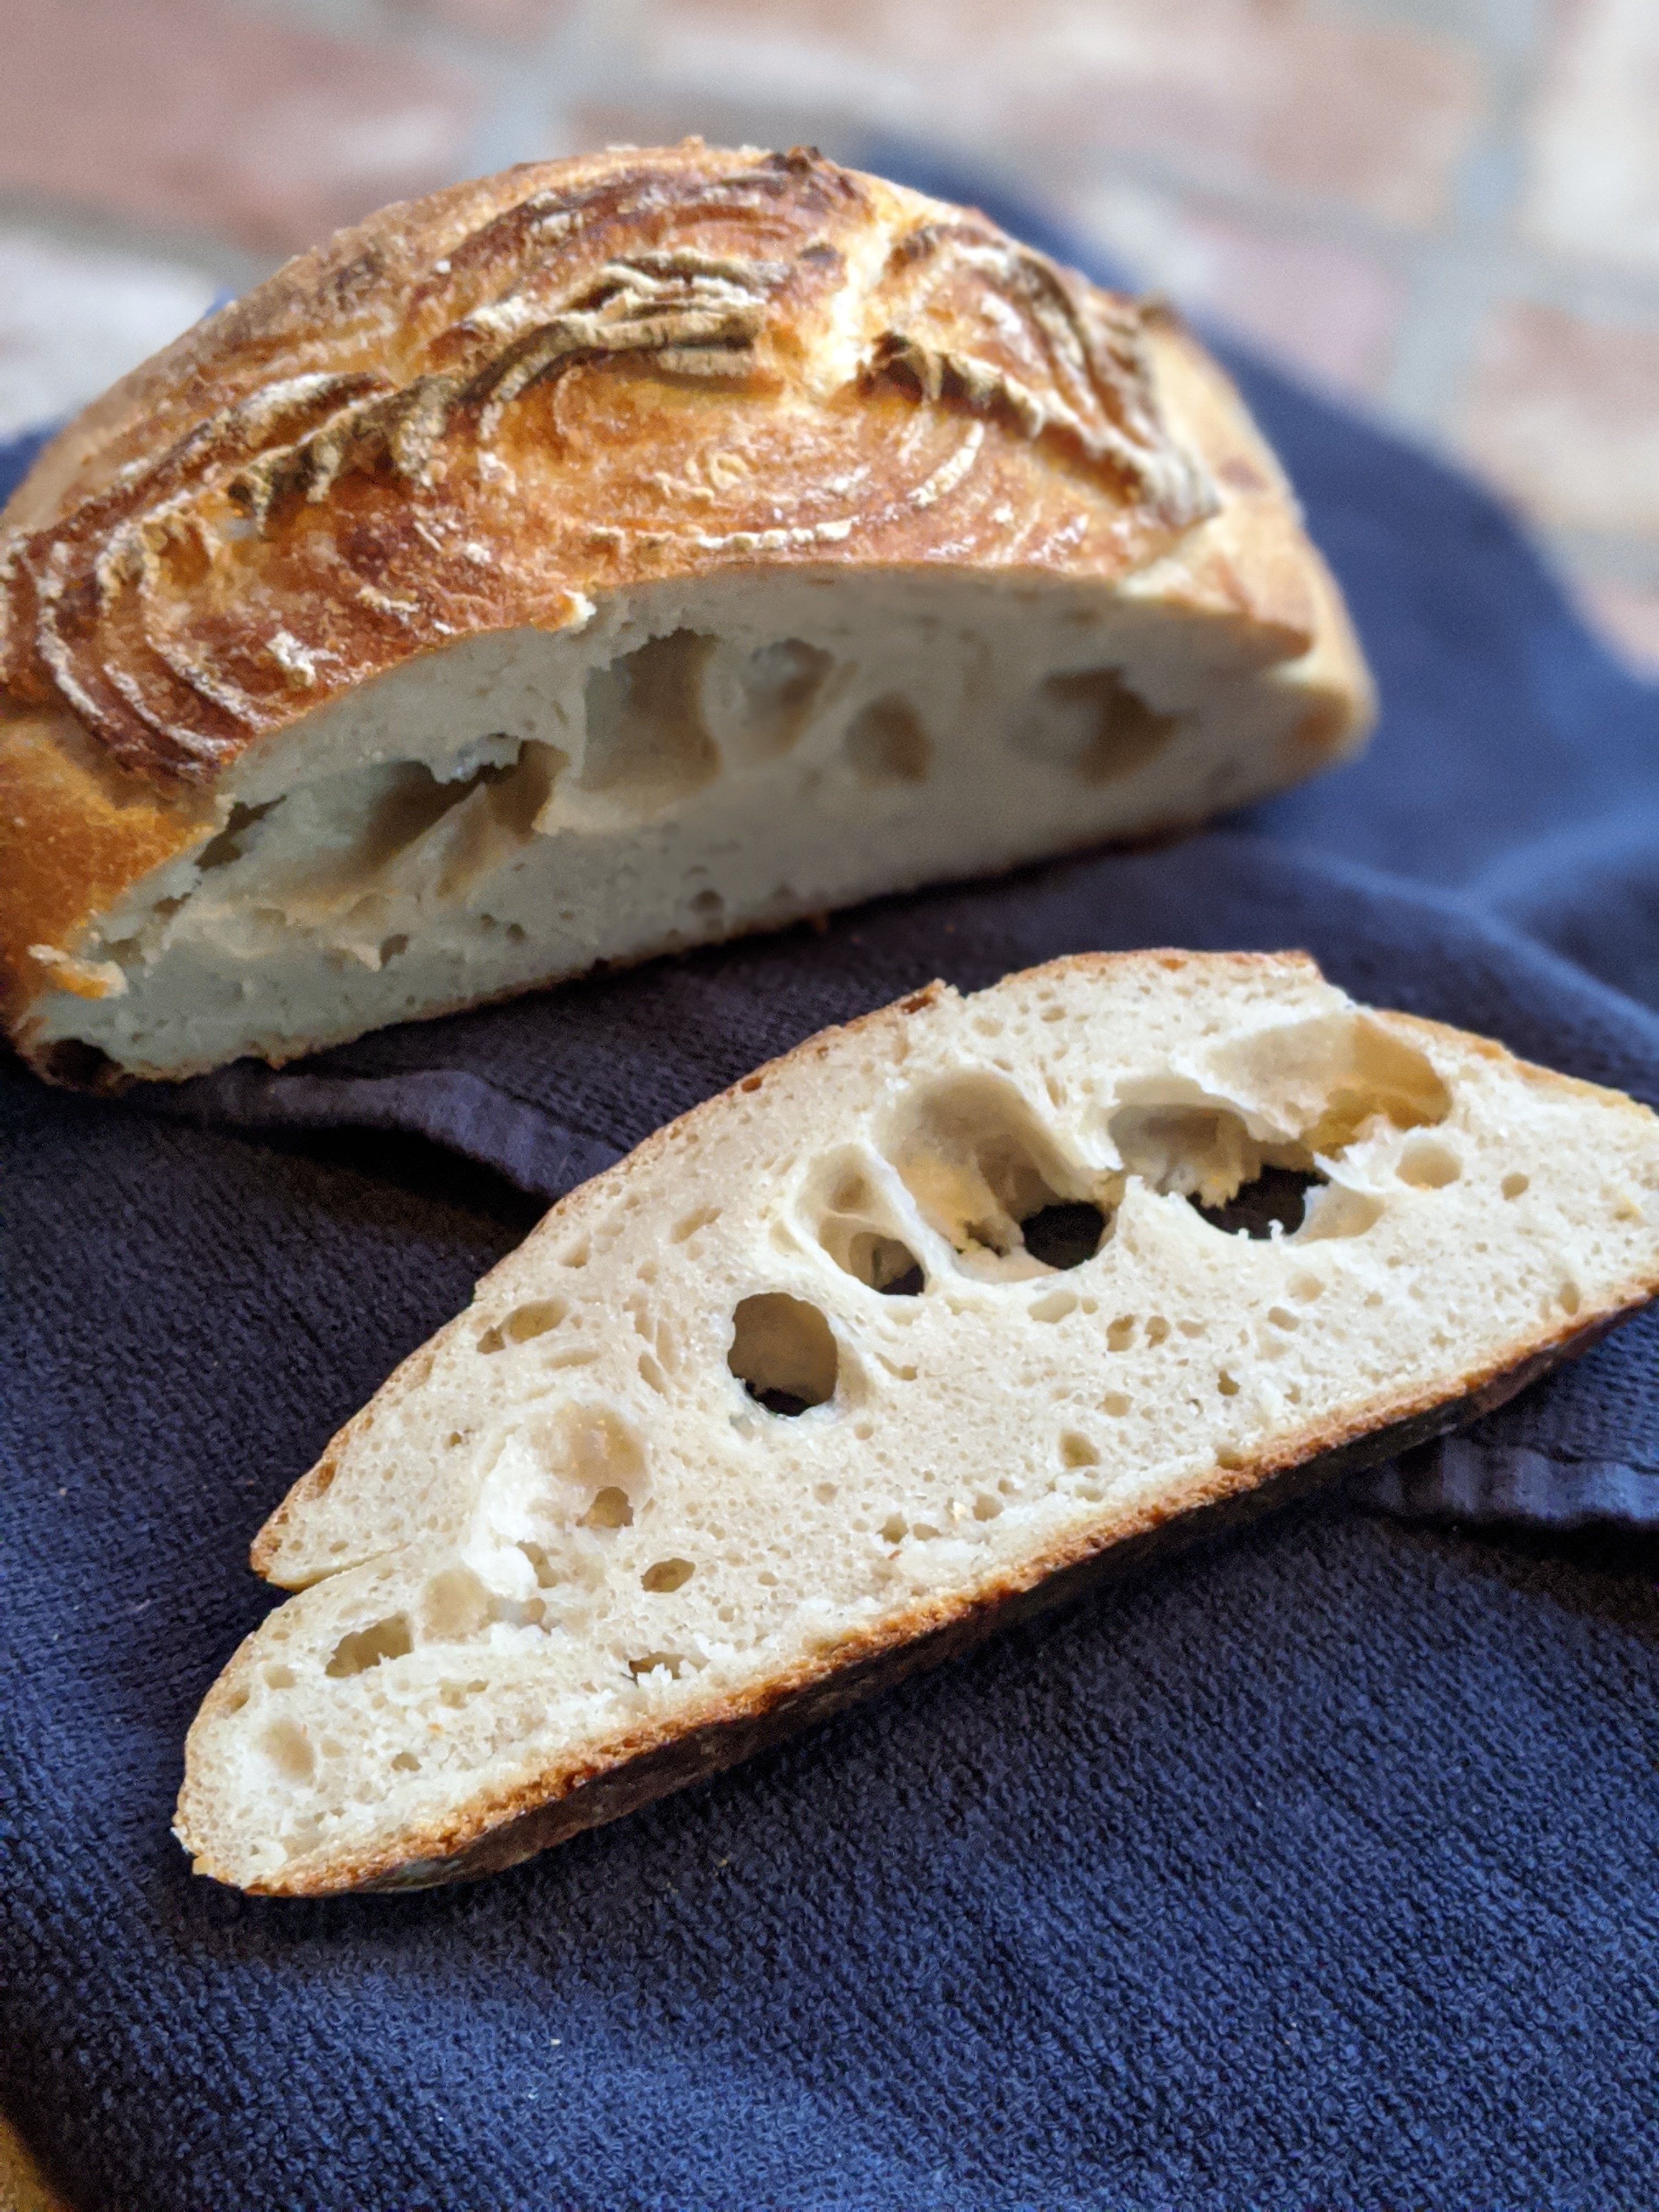
- Enjoy your first loaf!
Troubleshooting Your Sourdough Starter
- If your dough is too sticky and sticking to your hands or the spoon when you mix, add more flour to the batter.
- If it’s a warm day, you can allow your sourdough starter to use in a cool dry place.
- If it’s a cold day (for all you winter bakers out there), I like to preheat my oven for about 1 minute then turn it off, and let my dough rise in the warm oven. I found this works best in the winter months when it’s chilly in my kitchen.
More Discard Recipes to Make With Sourdough Starter 101!
Vegan Sourdough Pancakes Recipe
Sourdough Garlic Naan Recipe (Vegan, Dairy Free, Egg Free)
Vegan Sourdough Muffins with Blueberries
Sourdough Bagels Recipe (Vegan)
Sourdough Starter Pizza Crust Recipe (Vegan, Dairy Free)
Share This Sourdough Starter
Let’s connect on social!
If you made this recipe, please leave a star rating and let me know how it went in the comments below. I’d love to hear from you!

Our cookbook One Ingredient, Five Ways has tasty no-waste plant-based recipes for everyone!

Sourdough Starter 101: Bread Recipe
Equipment
- Dutch Oven or heavy lidded pot that is oven safe
Ingredients
- 1 cup sourdough starter unfed
- 3 cups all-purpose flour
- 1 cup water
- 1 teaspoon Sea Salt
Instructions
- To your 1 cup of starter, add 3 cups flour, 1 cup water, and 1 teaspoon salt. Mix well to combine.
- On a floured cutting board, knead the sourdough for 10-15 minutes until the gluten begins to develop in the dough.
- Cover the bowl with a tea towel, and allow dough to rise for about 12 hours.
- Once the dough has risen, knead the dough again and set in a floured bowl (or proofing bowl) for the second rise. Allow dough to rise again for another 2 hours.
- TIME TO BAKE! Preheat the oven to 450 degrees Fahrenheit. Place the dutch oven in the oven while its heating up, so it is nice and hot when you are ready to add the dough.
- Once oven reaches 450, carefully remove the dutch oven, and place loaf of bread in the dutch oven. Bake with thte dutch oven lid ON for 30 minutes.
- After 30 minutes, remove the dutch oven lid and cook uncovered for 10-15 minutes until the top becomes nice and brown.
- Carefully remove the pot from the oven, place bread on a cooling rack, and allow to cool for 20 minutes.
- Enjoy your first loaf!
Nutrition
This post may contain affiliate links. I may earn from qualifying purchases from affiliate programs, at no additional cost to you. Please read our privacy policy for more information.




If you make this in a loaf pan, how do you cover it? Mine does not have a lid.
Hi Charity, you can cover with tin foil if your loaf pan doesn’t come with a lid – if you try it, please let us know how it turns out!
– Kelly
Is there any reason this can not be baked in a loaf pan?
Hello Marlys – yes, you can absolutely bake this in a loaf pan. For the recipe quantity listed here, I would recommend dividing the dough into 2 loaf pans, but they should work fine. Please let me know if you make these and how they turn out!
It’s quite the process. But the results are amazing